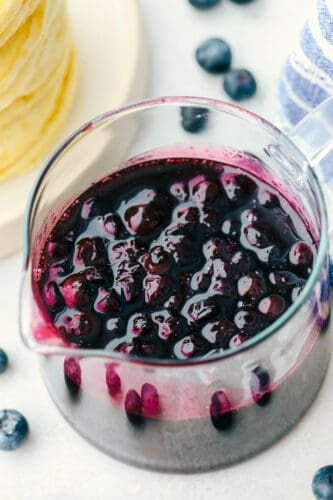
Homemade Blueberry Syrup will be the best addition to your breakfast lineup. It is sweet, decadent, and you will want to put it on everything!
It takes less than 10 minutes and only a few pantry staple ingredients to whip up! Serve this up on Buttermilk, Cornbread, or Waffles for a breakfast that is sure to be a hit with the family!

Blueberry Syrup Recipe
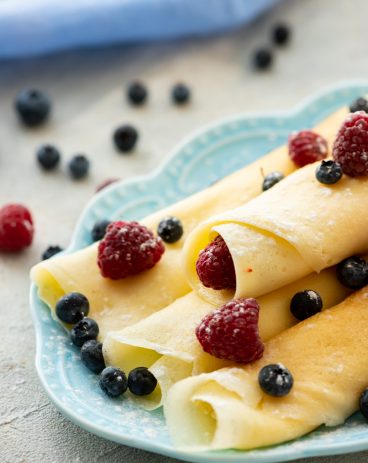
It’s time to level up your pancake game! This Homemade Blueberry Syrup is fresh, delicious, free of artificial sweeteners and SO versatile! It only takes minutes to put together and will taste better than anything you can find at the store! Top pancakes, waffles, crepes, or other baked goods with this syrup for extra sweet and fruity flavor. You can even add this syrup to our Homemade Lemonade to create the perfect summer drink!
This Blueberry Syrup has become a HUGE HIT in my family and my kids love putting it on everything. You can switch out the blueberries in this recipe for raspberries or strawberries to create a variety of syrups for a breakfast à la IHOP! The possibilities are endless and I know you’re going to love having this syrup on hand in your kitchen!
Easy Homemade Blueberry Syrup Ingredients
The best part about this Homemade Blueberry Syrup is that it only requires 4 simple ingredients to make! Make this syrup in no time!
- Sugar: This will melt down to create the perfect syrupy texture and counteract overly tart fruit flavors.
- Cornstarch: Creates thickness for perfectly rich syrup.
- Lemon Juice: You can use either fresh squeezed or bottled lemon juice.
- Fresh Blueberries: Fresh blueberries work best to create the perfect flavor and texture, but you can also use frozen blueberries as a substitute!
How to Make Blueberry Syrup from Scratch
The steps for making this syrup are so easy, even the youngest cooks in your house will be able to help! Mix this syrup up in minutes along with this pantry staple pancake mix to pair with for a perfect combination breakfast!
- Whisk: In a medium saucepan, add your sugar, cornstarch, water, and lemon juice and whisk together.
- Boil: Over medium-high heat, bring the mixture to a boil and add in your blueberries.
- Simmer: Simmer for 4-5 minutes until the blueberries burst and the syrup begins to thicken.
- Serve: Remove from heat and serve.

The Best Blueberry Syrup Tips
Here are some tips to help you perfect your blueberry syrup! And if you are a big fan of blueberries like me, you have got to try our amazing Blueberry Banana Bread and Blueberry Pie Muffin Bread with Lemon Glaze!
- Blueberries: Ripe blueberries will be large and plump and slightly gray on the outside. Make sure they are dark blue all around the berry- any signs of red could mean they are not ripe yet and will be too tart.
- Temperature: Make sure not to cook your mixture on too high of heat. Simmering allows it to keep moisture while creating the perfect syrupy texture.
- Texture: If you do not want fruit pieces in your syrup, you can use a sieve or strainer to make it thinner.
- Fruit Substitutions: If you want to make your syrup with bigger fruits like strawberries, crush the fruit or put it through a food processor before adding it to your sugar and water mixture.

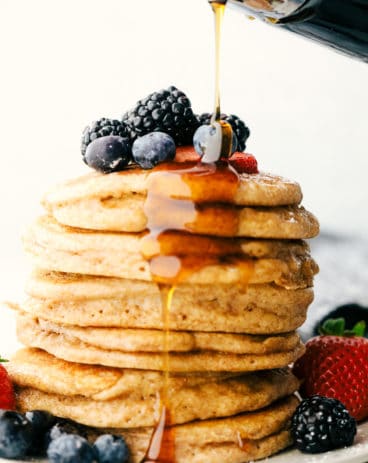
What to Serve with Homemade Blueberry Syrup
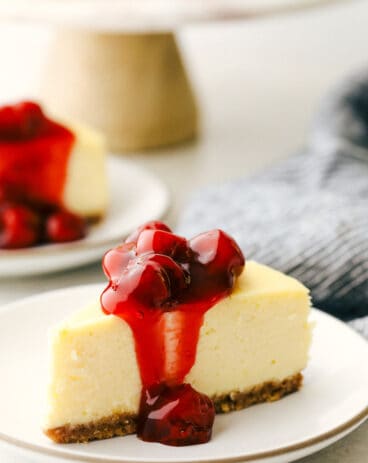
Blueberry Syrup with breakfast foods is a classic. Try serving it over my German pancakes! You can also add it on top of cheesecake and cheesecake bars for some extra decadence. Blueberry Syrup is sooo good for so many different things- in drinks, as a salad dressing, or even to drizzle on mini fruit pizzas! It is a delicious staple that you’re going to LOVE!
Storing Your Homemade Syrup
You can store your Homemade Blueberry Syrup in an airtight container in the refrigerator. It should stay fresh for about one week. You can also freeze your syrup to make it last for months! Allow one inch of space in your container when freezing as the syrup will expand. When you’re ready to use it, let it thaw in the fridge for a few hours before consumption.
- Refrigerator: Store in the refrigerator for about 7 to 10 days in an airtight container or jar.
- Freezer: This will freeze for 3 months in an airtight bag or jar. When reheating, slowly warm up, stirring occasionally.

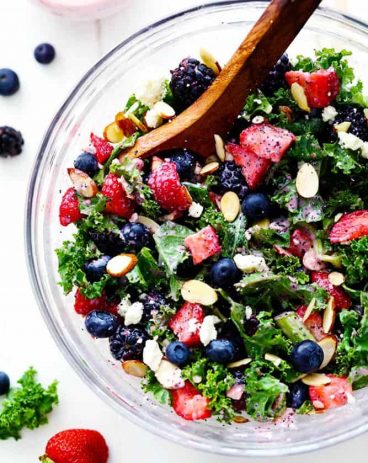
Try These Other Breakfast Recipes
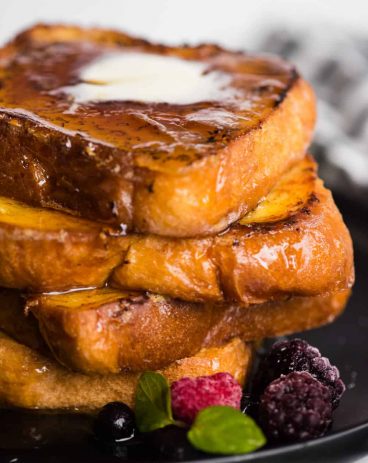
Breakfast
Crème Brûlée French Toast
Breakfast
Fluffy Whole Wheat Pancakes
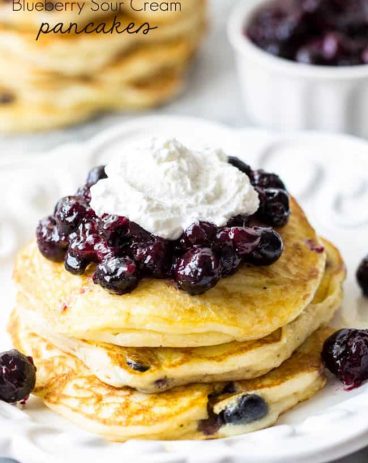
Breakfast
Blueberry Sour Cream Pancakes

Breakfast
Grandma’s Perfect Fluffy Pancakes

Homemade Blueberry Syrup
Ingredients
- 1/2 cup sugar
- 1 Tablespoon cornstarch
- 1/2 cup water
- 1 Tablespoon lemon juice
- 2 cups fresh blueberries*
Instructions
-
In a medium saucepan add sugar, cornstarch and water and lemon juice and whisk. Bring to a boil over medium high heat and add the blueberries.
-
Simmer from 4-5 minutes until the blueberries burst and it starts to thicken. Remove from heat and serve.
Notes
Nutrition
from The Recipe Critic https://ift.tt/3cytmlb
https://ift.tt/3xcLPvq


