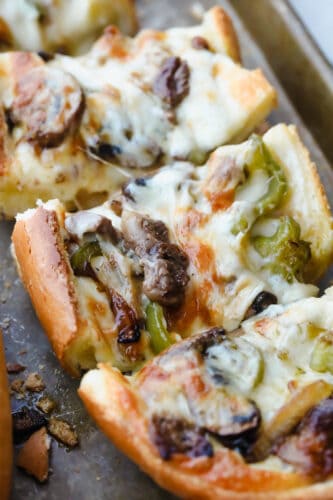
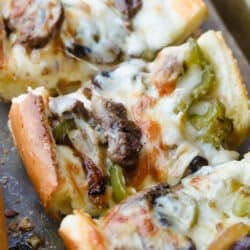
Philly Cheese Steak Cheesy Bread with just a few simple ingredients is the taste of Philly for a crowd! It comes together in just minutes with major flavor in each bite!
With tender cuts of meat, melty cheese, tangy Worcestershire sauce, and fresh veggies, the flavors of Philly cheesesteaks are irresistible! I like to use these tasty ingredients in things like sloppy joes, stuffed peppers, and even egg rolls for a cheesy twist!

Philly Cheesesteak Cheesy Bread Recipe
Philly cheese steak cheesy bread sounds like a hard recipe but it’s actually ready to go in the oven in less than 20 minutes and is a perfect recipe for a crowd. This is going to be your new go-to for summer parties! It has all the amazing flavor of cheesesteaks but easy preparation and convenient pull apart pieces your friends and family will love! Plus, this Philly cheese steak cheesy bread recipe doesn’t require a lot of ingredients and is actually pretty inexpensive to make.
Perfect for quick and easy dinners, parties, game days, and potlucks, the delicious flavors of this Philly cheese steak cheesy bread are sure to impress. One of the most popular recipes on my blog is for a Philly cheese steak cheesy bread, and there are at least four different recipes on the blog for cheesesteaks, but this one is my favorite version for a crowd. A recipe that tastes this good and is so effortless makes it is hard to make cheesesteaks any other way! With soft, flaky French bread, tender ribeye slices, peppers, onions, and mushrooms sauteed to perfection, and melty provolone bubbling on top, be ready to indulge in the ultimate comfort food!
What You Will Need For Cheesesteak Cheesy Bread
Fresh ingredients work best to enhance the flavor of this Philly cheese steak cheesy bread. Scroll down to the recipe card to find the exact measurements for Philly cheese steak cheesy bread ingredients.
- Ribeye Steak:16 ounces thinly sliced.
- Salt and Pepper: To taste.
- Canola Oil: For pan-frying the pieces of steak. You can substitute canola oil for sunflower, vegetable, or grapeseed oils.
- Worcestershire sauce: Adds delicious, tangy flavor to the meat.
- Butter: For pan-frying vegetables. I like using salted butter to enhance the flavor of the veggies.
- Green Bell Pepper: Adds a delicious crunch and zing to your cheesesteaks.
- Yellow Onion: Sliced, adds sweet and savory flavor.
- Mushrooms: Sliced, for delicious flavor and texture.
- French Bread: Cut in half lengthwise.
- Mayonnaise: For creaminess and tang.
- Provolone cheese: I like using provolone because it is rich and savory and melts to perfection. You can also substitute provolone for mozzarella, muenster, or parmesan.
How To Make Philly Cheesesteak Cheesy Bread
This cheesy delight comes together in just a few quick and easy steps! Philly cheese steak cheesy bread is a delicious appetizer, side, or a simple main dish!
- Preheat Oven and Prep Steak: Preheat the oven to 400 degrees. Add the salt and pepper to the ribeye steak.
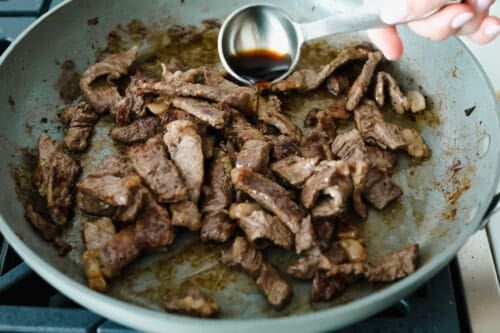
- Pan-fry Steak: In a large cast-iron skillet add the oil and heat to medium-high. Add the steak and sear each side for about 2 minutes.
- Add Worcestershire Sauce: Add the Worcestershire sauce and toss with the meat. Remove from the pan.
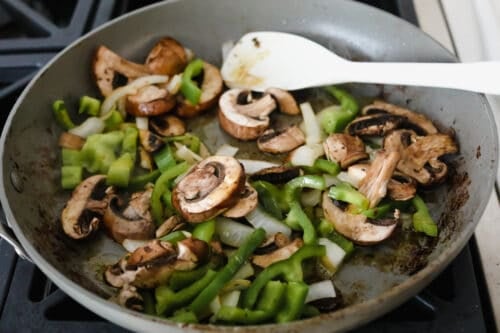
- Sauté Vegetables: Add the butter, bell peppers, onion, and mushroom to the pan and salt and pepper to taste. Cook for two minutes until the veggies are tender.
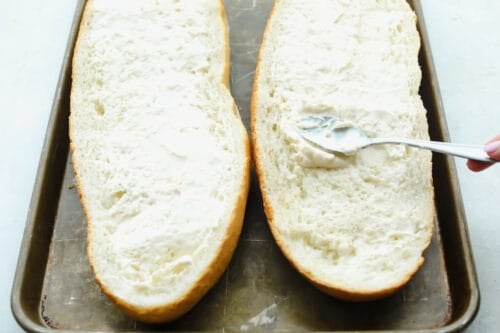
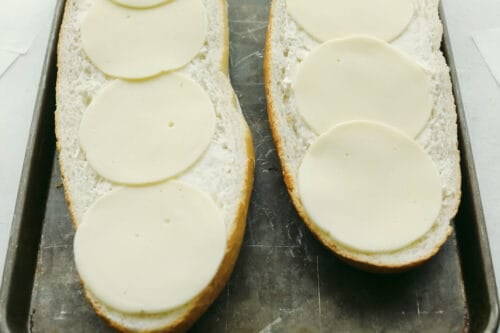
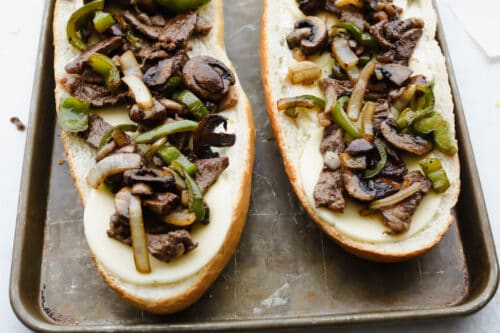
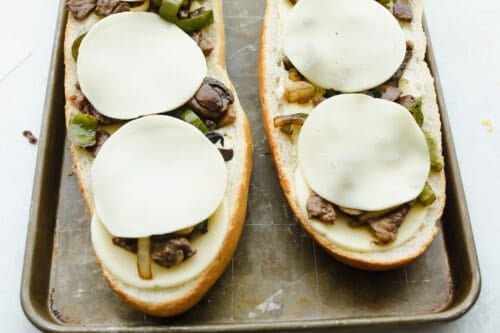
- Prepare Cheesesteaks: Spread mayonnaise over both halves of the bread. Layer with slices of Provolone cheese. Add the steak and vegetables. Layer with remaining cheese.
- Bake: Cook for 10-15 minutes on the middle rack until browned.
- Serve: Slice into two-inch thick slices and serve immediately.


Great Cheesesteak Pairings
For a classic side, serve up your Philly cheese steak cheesy bread alongside my air fryer potato chips and fries. They are so quick and easy to make, perfect for throwing together right before a party! I like to also serve these alongside my Tuscan and shrimp pasta salads for a complete, delicious summer meal.
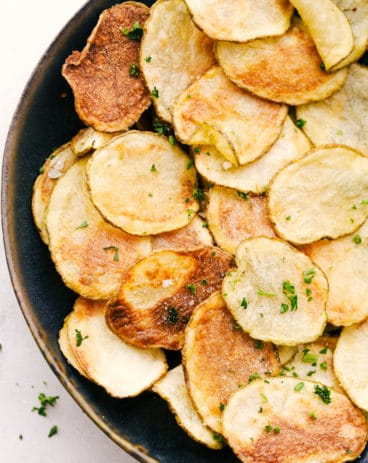
Side Dishes
Air Fryer Potato Chips
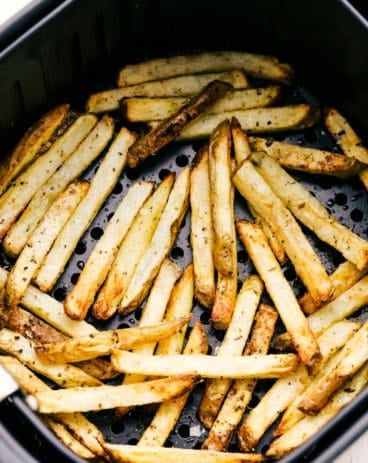
Side Dishes
Amazing Air Fryer French Fries
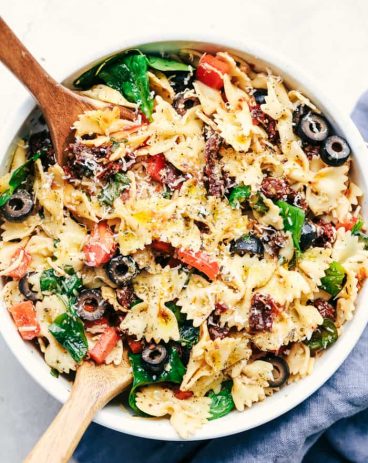
Side Dishes
Tuscan Pasta Salad
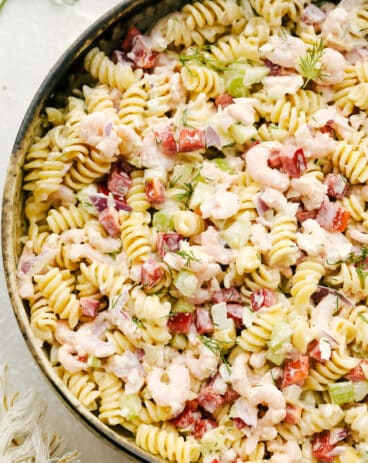
Salads
Shrimp Pasta Salad

Making The Best Philly Cheesesteak Cheesy Bread
You can make this Philly cheese steak cheesy bread to suit your tastes, here are a few more options:
- Cheese: The recipe calls for Provolone, but you can use any cheese you prefer. Just don’t use Cheez Whiz in this recipe, it won’t cook as well on high heat.
- Steak: The more tender the cut of meat, the better your end product will be. I use Ribeye, but skirt steak would also work really well. Just avoid really tough cuts of meat or you will end up with very chewy pieces of meat.
- Marinating Meat: Marinating your meat in sauces like Worcestershire, balsamic vinegar, and soy sauce help to break down connective tissue in meat and make it extra tender- perfect for sandwiches.
- Adding Mayonnaise: The mayonnaise on the bread adds a lot of flavor and helps the end product stay moist and creamy, I would not skip it.

Storing Your Cheesesteak Cheesy Bread
- In the Refrigerator: Store your Philly cheese steak cheesy bread in either an airtight container or wrapped tightly in plastic wrap. It will last for up to 4 days.
- In the Freezer: Your cheesy bread can be kept in the freezer for up to 3 months in an airtight container.
- Reheating: To keep your bread from getting soggy, I recommend reheating your Philly cheese steak cheesy bread in the oven for 15-20 minutes at 375 degrees Fahrenheit. Wrap your bread in tin foil before cooking.

More Delicious Steak Recipes

Philly Cheese Steak Cheesy Bread
Ingredients
- 16 ounces Ribeye Steak thinly sliced
- salt and pepper to taste
- 1 tablespoon canola oil
- 1 tablespoon Worcestershire sauce
- 2 tablespoons butter
- 1 medium green bell pepper sliced
- 1 medium yellow onion sliced
- 4 ounces mushrooms sliced
- 1 loaf French bread cut in half lengthwise
- 1/4 cup mayonnaise
- 10-12 slices Provolone cheese
Instructions
-
Preheat the oven to 400 degrees. Add the salt and pepper to the ribeye steak.
-
In a large cast iron skillet add the oil and heat to medium high. Add the steak and sear each side for about 2 minutes.
-
Add the Worcestershire sauce and toss with the meat. Remove from the pan.
-
Add the butter, bell peppers, onion and mushroom to the pan and salt and pepper to taste.
-
Cook for two minutes until the veggies are tender.
-
Spread mayonnaise over both halves of the bread.
-
Layer with slices of Provolone cheese.
-
Add the steak and vegetables.
-
Layer with remaining cheese.
-
Cook for 10-15 minutes on the middle rack until browned.
-
Slice into two inch thick slices and serve immediately.
Notes
Nutrition
from The Recipe Critic https://ift.tt/2LlhWFz
https://ift.tt/3w2yqFz