This fall charcuterie board is easy to make and is perfect for all of the parties this season! Packed with colorful and delicious food it is sure to be a hit with all of your guests!
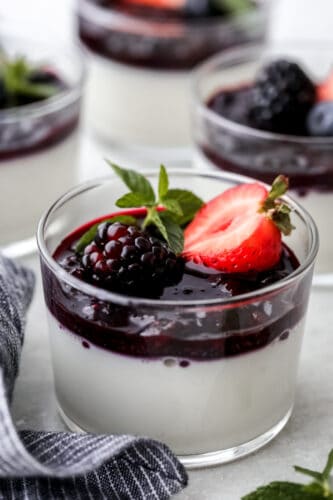
The beauty of this board is that it has something for everyone! If you want to try some more delicious fall snacks then start with this Pumpkin Cheesecake, this amazing Cake, or these Scones!

What is a Charcuterie Board?
I can’t even describe how much I love a good charcuterie board! They are SOO GOOD! It’s a mixture of sweet and savory with something different to try in every bite! Plus, there is always something for everyone on it because it is jam-packed with so many different tastes and textures! But before we get too into what they are all about, let’s start at the beginning!
A charcuterie board (pronounced shar-koo-tuh-ree) is a big snack board! It can include anything and everything and that’s what makes it so great! I love that I can make this for my kids and they go crazy over it! To make one you then you just have to gather up a bunch of different types of food and put them together on a board! That’s easy enough! I will walk you through all of the steps to make it delicious and beautiful! After this then you are going to want to make a charcuterie board for everything!
Meats and Cheeses to Use on a Charcuterie Board
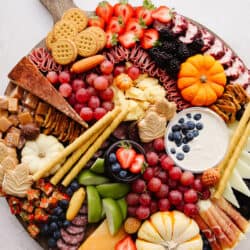
Meats and cheeses for a fall charcuterie board are key to it being the best of the best! These are going to be what brings that savory taste and texture to the board! The cheeses can be cubed, sliced, or cut into shapes! The meat looks SOO GOOD when it is all rolled up or sliced. If you do this and have a variety of shapes and sizes then you will have a professional-looking board! Here are the meats and cheeses that I used for this board:
Meat
- Italian Dry Salame
- Peppered Salame
- Proscuitto
Cheese
- Cranberry Goat Cheese
- Dutch Spicy Kaas Red, green and white square cheese
- Creamy Toscano Cheese
- Beemster Cheese
If you can’t find these meats and cheeses at your grocery store then talk to your butcher! They should be able to suggest other options that will work and that are available! A few others that you could use are ham, pepperoni, calabrese salami, or genoa salami.

What Fruit Should I Use for My Charcuterie Board?
Now, for the fruit! It’s going to add the most color to this fall charcuterie board! You want to pick out fruit that is different in color and texture. Then it will really pop on this board! You can pick out fruits that are seasonal or you can just use your favorites! For this board I used the following fruits:
- Strawberries
- Red Globe Grapes
- Green Apples
- Blueberries
- Blackberries
Depending on what occasion I am making this board for, I will switch up these fruits. I especially liked the ones that I used on this board because they really popped in color! But there are so many options of fruit that you really can’t go wrong no matter what you choose to use! Go ahead and try it!

Choosing Cookies, Crackers and Dip
Here is where you bring in ALL the sweet things! I love to add in flavored crackers that are sweet to balance out all of the savory that I have already put onto this fall charcuterie board. Plus, if I can find cookies or crackers that are shaped for the occasion then that makes it all the better! Then, add in some sweet dip for everything and you will be all set! Here is a list of the crackers and dip that I used on this board:
Crackers and Cookies
Feel free to grab any kinds of cookies and crackers that you love! Sometimes, I will also add in other things that will add to the flavor and texture. On this board, I included some caramels because they were the perfect fall color!- Cranberry Pumpkin Crisps (Trader Joes)
- Pumpkin Flavored Sandwich Cookies
- Pumpkin Spice Batons
Dip
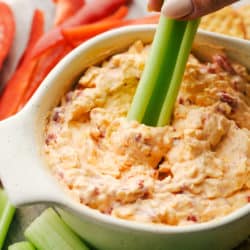
Add any dip that you love and will make this a delicious board! I love spinach and artichoke dip or

Let’s Put it ALL Together!
Now comes the fun part! This fall charcuterie board will come together so easily once you have all of your ingredients ready to go! This is such a fun and delicious way to make any season or holiday special! Change it up to make it just what you need!
- Cheese first: Start assembling your board by adding the cheeses.
- Start adding meats: Next add the salami, and prosciutto.
- Finish the meats and add in the fruit: Add in the meats and fruit.
- Cookies and crackers: Fill the board in with crackers and cookies.
After you add in all of these amazing foods, then you can decorate or add more to make it your own! I used tiny pumpkins in it to add some visual interest! But depending on the occasion or holiday that you are doing this for, you can change that up!

Charcuterie Board Tips
The best part about making a fall charcuterie board is that you can use basically anything that you want! Once you start making these then you are going to want to make them all the time. Here are a few ideas about how you can change it up to make it your own!
- Change up the menu: Charcuterie boards can be use for ANY occasion. It doesn’t need to be filled with meats and cheeses! If you want one for your kids then make one with after school snacks! They will love it! Or make one that is themed for a party by using only certain colors or ingredients. A charcuterie board is a snack board so make it whatever you want it to be!
- Add decorations: You can make one for a holiday like I did with this Halloween Charcuterie Board! It was super easy and I just added in some Halloween decorations! Make this your thing and then bring a themed one to all of your holiday get togethers! Then you can fill them with all of your favorite things!
- Shapes and colors: When making a charcuterie board, you just want to make sure that it has a lot of different shapes, colors and textures! Cut out some cheese using cookie cutters. Or add in some fruit to to the top of your dip! Once you get the hang of it then you can change things up and get creative!
Fall Pumpkin Desserts to Try

Desserts
Pumpkin Cheesecake Snickerdoodles
Desserts
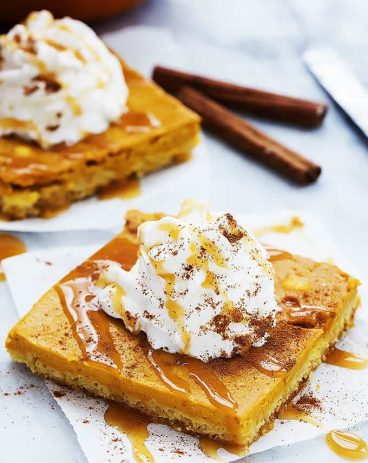
Pumpkin Pie Sheet Cake
Breakfast
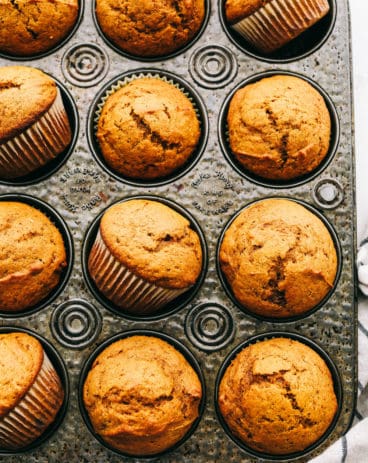
Perfect Pumpkin Muffins
Fall Charcuterie Board
Ingredients
Meat:
- Italian Dry Salami
- Peppered Salami
- Proscuitto
Cheese:
- Cranberry Goat Cheese
- Dutch Spicy Kaas Red, green and white square cheese
- Creamy Toscano Cheese
- Beemster Cheese
Crackers and Cookies:
- Pumpkin Cranberry Crisps (Trader Joes)
- Pumpkin Flavored Sandwich Cookies
- Pumpkin Spice Batons
Fruit:
- Strawberries
- Red Globe Grapes
- Green Apples
- Blueberries
- Blackberries
Dip:
Instructions
-
Start assembling your board by adding the cheeses.
-
Next add the salami, and prosciutto.
-
Add in the meats and fruit.
-
Fill the board in with crackers and cookies.
from The Recipe Critic https://ift.tt/308Ohs7
https://ift.tt/3mRQhxl