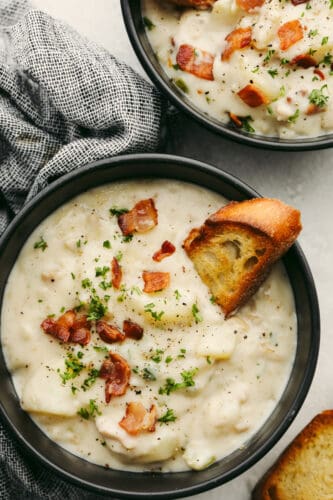
Creamy Clam Chowder with potatoes and vegetables is one of my favorite easy soup recipes! It’s thick and creamy and tastes as if it came straight from a restaurant! It’s SO GOOD!
Chock full of flavor, this clam chowder is hard to beat! And if you love this recipe then you’ve got to try this delicious Cheeseburger Soup, this amazing Broccoli Cheese, or this Sausage Tortellini Soup! You will love them all!

Delicious Clam Chowder
Soup season has arrived and I am here for it! I love this time of year when new soup recipes are popping up everywhere! There is just nothing like dipping some yummy bread into warm soup. This clam chowder is unbelievably delicious and full of GOOD flavor! And clams, it’s chock full of them!! If you are as ready for soup season as I am then this clam chowder is a great place to start! It will kick off the season and keep you coming back for more!
This is such a simple soup but the flavors together are delicious. I love to add extra veggies too, like bell peppers, to give it flavor, color and crunch. In fact, try making this Crostini or this French Baguette to dip into it! It really takes it up a notch and is an easy way to add in the perfect side dish! Go ahead and give this a try. It’s a recipe that will for sure get a “WOW!” from all of your family and friends!
What’s In Clam Chowder?
This recipe has super simple ingredients, most of which you will already have in your kitchen! See the recipe card below for exact ingredient measurements!
- Bacon: The bacon really add the most amazing extra flavor to this recipe!
- Onion: You need the onion for some added flavor.
- Celery: Dice up your celery and put it in the chowder for an added crunch.
- Garlic cloves: If you don’t have any fresh garlic cloves on hand then you can use the minced garlic in your fridge. ½ tsp equals about one clove of garlic!
- Flour: I used all purpose flour in this recipe
- Chopped clams: You can’t have clam chowder without some amazingly delicious clams!
- Chicken broth: This is used instead of water so that the base of your chowder has some additional flavor.
- Milk: You can use 1% or 2% for this recipe.
- Half and half: This is what will start to make your base of your chowder nice and creamy.
- Russet potatoes: Peel these up and dice them before adding them to the chowder.
- Salt and pepper: Add as much or little of these seasonings as you would like, just until it tastes just right to you!
Let’s Make Some Chowder!
This clam chowder only takes about 15 minutes to make from start to finish! You are going to love how this tastes so let’s get cooking!
- Cook bacon: In a large pot over medium high heat add the bacon and cook until slightly crisp and no longer pink. Then, remove it to a plate with a slotted spoon.
- Add in the vegetables (except potatoes): Add the onion, celery and garlic and cook until tender and then add the flour and stir.
- Stir in liquids and potatoes: Add in the juice from the clams, chicken broth, milk and half and half and stir until there aren’t any clumps. Add in the potatoes.
- Boil, add in clams and bacon, serve: Bring the pot to a boil and reduce heat to a simmer until the potatoes are tender and the soup is thick. Then, stir in the clams and salt and pepper to taste. Once you are done then top with crumbled bacon and serve.

Make it Into a Meal!
This clam chowder is absolutely divine and you can’t let that go to waste! Go ahead and make it into an entire meal with sides and a delicious dessert. Invite everyone you know over and then make it a party! Everyone needs a taste of this amazing clam chowder!
- Add a salad: Soup and salad just go together! They balance each other out with warm and cool tastes and are just perfect. Because they are so good togethers, try making this Wedge Salad to go with it!
- Cook up some bread: You can’t fully appreciate chowder without dipping some bread into it! In fact, buy a loaf of fresh French bread from the grocery store! Or, go the extra mile and bake up this amazing Crostini or French Baguette to go with it!
- Don’t forget the dessert!: Never underestimate the power of a delicious dessert to finish off your meal! You can go simple and delicious with these Best Ever Pecan Pie Bars or go a bit fancier and serve this gorgeous Black Forest Cake!

What are the different types of clam chowder?
You may hear clam chowder called Boston clam chowder, New England clam chowder, or Manhattan clam chowder. So what’s the difference? Boston and New England clam chowder are two names that describe the same type of clam chowder! New England (or Boston) clam chowder is a creamy or broth-based chowder made with potatoes, vegetables, and clams. This recipe fits that description. Manhattan chowder is a red, tomato-based chowder with clams and vegetables.

How to Store Leftovers
This clam chowder recipe makes great leftovers! In fact, it is even better the next day! Once it has cooled down then place it in an airtight container. Then, go ahead and put it in your fridge and it will last 3-4 days!

More Soup Recipes to Try
Soup Recipes
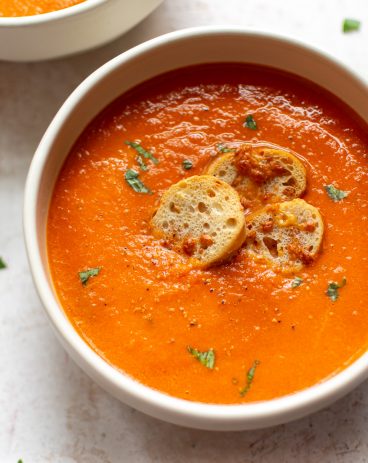
Tomato Basil Soup
Soup Recipes
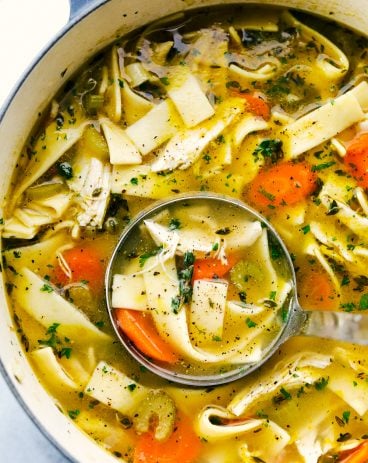
Literally the BEST Chicken Noodle Soup

Soup Recipes
Slow Cooker Pasta e Fagioli Soup
Dinner
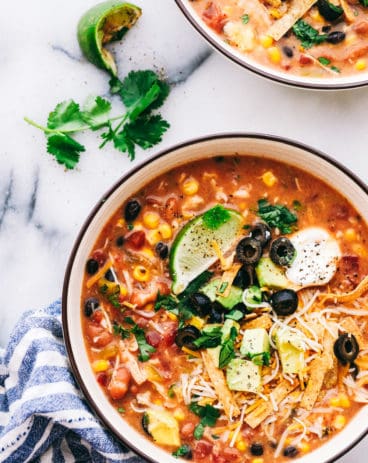
8 Can Chicken Taco Soup

Clam Chowder
Ingredients
- 6 slices bacon diced
- 1 small onion diced
- 3 stalks celery diced
- 3 cloves garlic minced
- 1/2 cup flour
- 4 (6.5 ounce cans) chopped clams
- 1 cup chicken broth
- 1 cup milk
- 1 cup half and half
- 4 medium russet potatoes peeled and diced
- salt and pepper to taste
Instructions
-
In a large pot over medium-high heat add the bacon and cook until slightly crisp and no longer pink. Remove it to a plate with a slotted spoon.
-
Add the onion, celery, and garlic and cook until tender. Add the flour and stir.
-
Add in the juice from the clams, chicken broth, milk, and half and half, then stir until there aren't any clumps. Add in the potatoes.
-
Bring the pot to a boil and reduce heat to a simmer until the potatoes are tender and the soup is thick. Stir in the clams and salt and pepper to taste. Top with crumbled bacon and serve.
Notes
Nutrition
from The Recipe Critic https://ift.tt/2yt1UkR
https://ift.tt/3BrFRIL