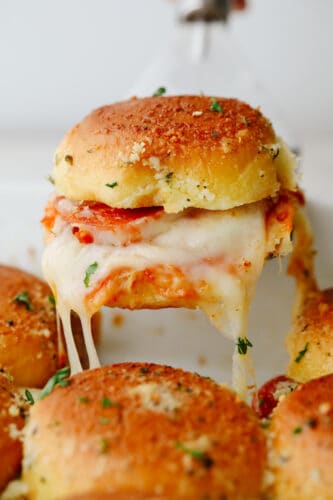
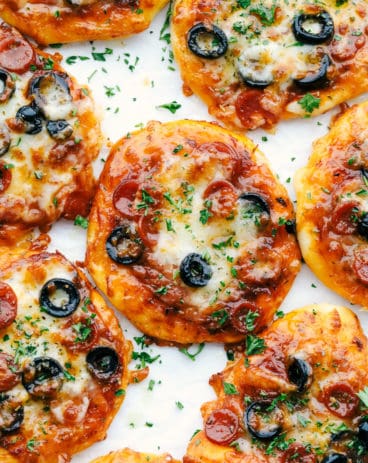
These pizza sliders are about to become your new favorite appetizer. Brushed with a buttery Italian seasoning glaze and filled with all of your favorite pizza toppings, each bite is truly irresistible!
Sliders are the best way to enjoy all of your favorite foods in a bite-sized portion. Cheeseburger, buffalo chicken, and ham and cheddar sliders are more of my absolute favorites! They get devoured at every event I bring them to.

Quick and Easy Pizza Slider Recipe
These pizza sliders are by far one of the easiest appetizers to put together. They are perfect for bringing to parties! They are so amazingly cheesy and ooey-gooey, they are bound to be a hit no matter who they’re feeding. This is a favorite at our house and my kids are always coming back for seconds and thirds. You would be surprised at how quickly 12 sliders are eaten up! But it makes sense. I mean, how can you resist melty cheese and pepperoni on a Hawaiian roll?! This is the ultimate combination of all of my favorite comfort foods. I think I may love them more than my kids do, which is hard to beat!
The best part about these sliders is that they can be customized to your favorite pizza flavor! Classic pepperoni is always a favorite at my house. I like to upgrade my sliders by smothering them in homemade pizza sauce. I feel like this gives it an extra touch of fresh flavor. Honestly, no matter what sauce and toppings you choose, these bad boys are going to blow your mind with how easy and delicious they are! Be prepared to have them as regulars in your weekly dinner lineup! You won’t be able to get enough of their cheesy, golden goodness.
Everything You Need for Homemade Pizza Sliders
You will love how simple the ingredients for pizza sliders are. It is such an inexpensive treat but packs incredible flavor in each bite! It is the perfect thing to throw together right before a party. And with how tasty these are, no one will suspect that it only took a few pantry staples to whip up! You can find measurements for each ingredient in the recipe card at the end of the post.
- Hawaiian Roll Sliders: This is one of my favorite parts of the recipe. With Hawaiian rolls, you get that perfectly soft and sweet layer to each slider. It compliments the Italian seasoning glaze that we brush on top perfectly! If you’re feeling up to it, trying making homemade Hawaiian rolls for optimal flavor! It is a lot easier than you would think, and they taste incredible fresh out of the oven.
- Pizza Sauce: You can use your favorite brand, here. I, personally, like to use homemade pizza sauce for the freshest flavor possible!
- Mozzarella Cheese: Not only does mozzarella taste amazing, but it becomes so perfectly stretchy and melty once baked. Cheddar and provolone are also great substitutes!
- Butter: For this recipe, I use melted, unsalted butter. This is for brushing on top of your sliders for that bakery-worthy shine!
- Parmesan Cheese: I like to add parmesan to the sliders’ glaze for a pop of cheesy flavor. It also bakes down and creates a delicious crispy texture.
- Garlic Powder: Garlic powder is a necessity for adding the perfect savory flavor to your pizza sliders!
- Italian Seasoning: A blend of basil, oregano, rosemary, marjoram, and thyme is the key to achieving the best pizza flavor. I like to make my Italian seasoning at home so I can customize the spices to my liking!
How to Make Your Pizza Sliders in the Oven
This is a completely foolproof recipe, you can’t go wrong! Pizza sliders are so easy but so delicious! My kids always love to help spread the sauce and add toppings. It makes it a fun activity for all of us, and allows everyone to customize their own sliders to their liking!
- Preheat Oven and Prep Buns: Let’s start! To begin, preheat your oven to 375 degrees Fahrenheit. Cut the slider buns in half and lay in a 9×13 inch pan.
- Add Sauce and Cheese: Evenly spread the pizza sauce on top. Sprinkle the shredded cheese on top.
- Add Desired Toppings: Next, add the pepperoni and put the top of the slider rolls.
- Mix Up Buttery Glaze: Then, in a small bowl, add the melted butter, parmesan cheese, garlic powder and Italian seasoning. Brush on top of the rolls.
- Bake: Bake for 12-15 minutes or until the cheese is melted and golden brown. Serve immediately.

The Best Pizza Sliders Tips and Tricks
Here are some easy ways to customize and perfect your pizza sliders! Your family is going to go crazy over how supremely cheesy and mouthwatering these are.
- Sauce and Toppings: Like traditional pizza, you can switch up your sliders with a variety of different sauces and toppings! Chicken alfredo, buffalo, and BBQ pizza sliders are all super fun and delicious flavors to try! Sausage and bacon crumbles are tasty toppings as well, perfect for the mini size of these sliders. Get creative!
- Bun Choices: I like to use Hawaiian rolls because they stay soft during baking and add a hint of sweetness, but you can use plain dinner rolls as well! Brioche or potato buns are also super delicious substitutes.
- Serve With: These pizza sliders make a delicious appetizer or meal on their own, but can be complimented with some fresh breadsticks. An Italian side salad would be delicious as well and add a little nutritional value!
- Make Ahead: You can prepare your sliders in advance and refrigerate for up to 24 hours before baking! This way, you have sliders on hand, ready to go, but your guests also have the delight of tasting them fresh out of the oven!
How to Store Pizza Sliders
Although they are best served fresh, you can store your pizza sliders for a few days after baking. The only problem is, the longer the pizza sauce sits on your buns, the higher your risk of having soggy sliders is.
- In the Refrigerator: Wrap your pizza sliders tightly or store them in an airtight container. They will stay good for up to 3 days.
- Reheating: You can cook your sliders in the microwave for 10-15 second intervals until warmed through for a quick, delicious snack! To keep your bread from becoming soggy, (even though it is a little more time consuming) my favorite way to reheat pizza sliders is by popping them in the oven at 350 degrees Fahrenheit for 10-15 minutes. This keeps the bread slightly crispy.

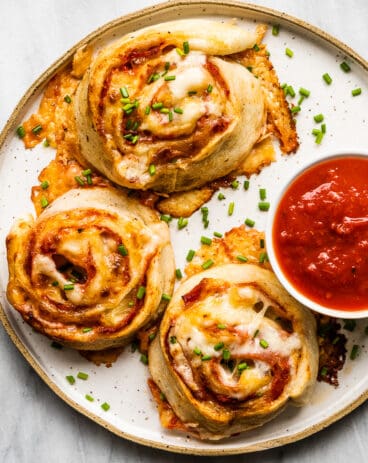
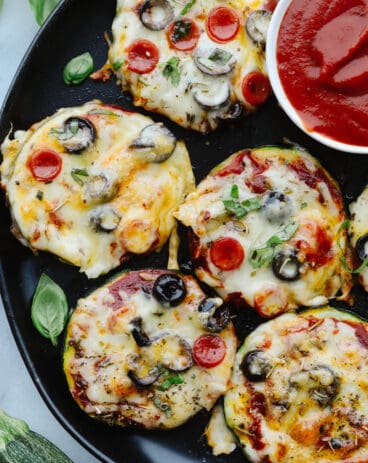
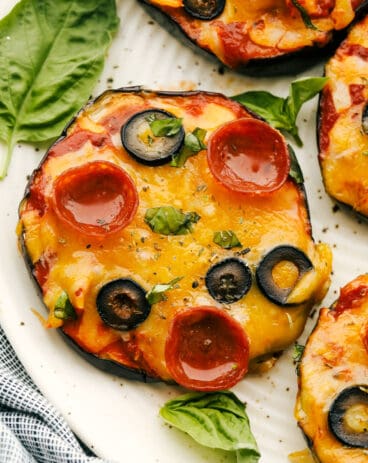
Fun and Healthy Pizza Variations

Pizza Sliders
Ingredients
- 12 Hawaiian Roll Sliders
- 1/2 cup pizza sauce
- 2 cups mozzarella cheese shredded
- 1/4 cup butter melted
- 2 Tablespoons grated parmesan cheese
- 1/2 teaspoon garlic powder
- 1 teaspoon Italian seasoning
Instructions
-
Preheat oven to 375 degrees. Cut the slider buns in half and lay in a 9×13 inch pan.
-
Evenly spread the pizza sauce on top. Sprinkle the shredded cheese on top.
-
Add the pepperoni and put the top of the slider rolls.
-
In a small bowl add the melted butter, parmesan cheese, garlic powder, and Italian seasoning. Brush on top of the rolls.
-
Bake for 12-15 minutes or until the cheese is melted and golden brown. Serve immediately.
Nutrition
from The Recipe Critic https://ift.tt/3nByc7N
https://ift.tt/3hj21G0