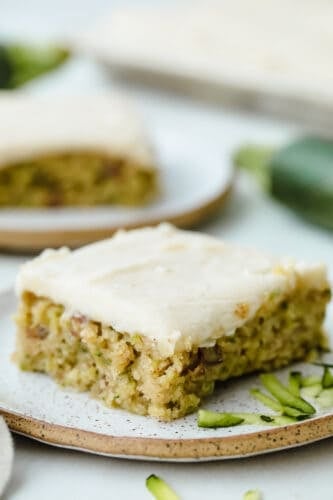
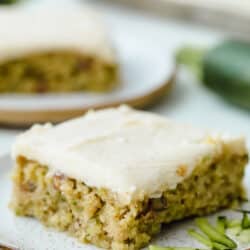
Zucchini Bars with Brown Butter Frosting is deliciously moist and absolutely heavenly. This is one of the best ways to use up those extra summer zucchini.
Browned butter is an easy trick to create incredible flavor. Try browned butter in these Cookies, on Shrimp and Carrots.

Zucchini Bars Recipe
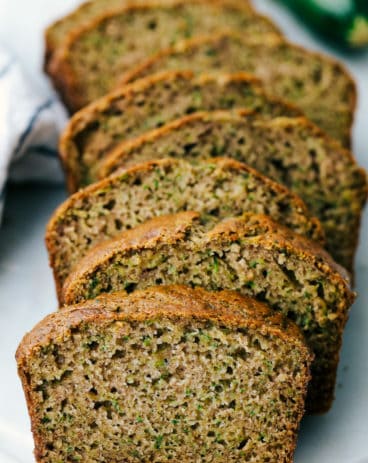
Right about this time the gardens start to become taken over by zucchini. There are so many great recipes to make zucchini with. Zucchini is my favorite vegetable in the garden. I love them sautéed as a side, I love them in quick bread, and I especially loved them in these bars. If you don’t have a garden full of zucchini, go to the store right now and buy some. These zucchini bars are so worth it!
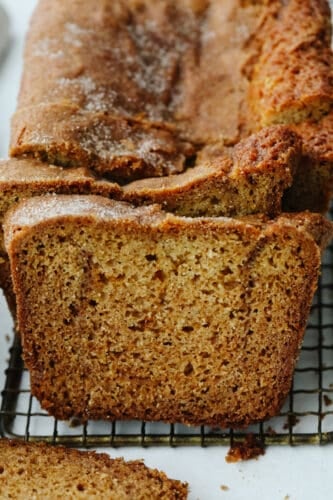
These zucchini bars were so moist and perfect. Packed with two whole cups of zucchini. The best part of these dessert bars was watching my picky eater who hates all foods devour them. It just puts a smile on my face to sneak veggies into recipes. These were hands-down THE best zucchini bars that I have had. But let me tell you about my very favorite part. The browned butter frosting. This zucchini bars recipe was originally inspired by these banana bread bars. Mostly for the browned butter frosting. Browning the butter is just one extra step that takes boring old frosting to mind-blowing. It gives it a nutty flavor and complements the bars perfectly.
Ingredients For Brown Butter Zucchini Bar
Zucchini bars are so simple to make with pantry staple ingredients! It all comes together quickly and easily with just a few steps. For complete ingredient listing and measurements, see the recipe card below.
- Granulated sugar: Adds the sweetness to the zucchini.
- Vegetable oil: Add moisture and lightness to the cake.
- Eggs: Have the eggs at room temperature for better mixing.
- All purpose flour: The flour provides structure for the bars.
- Baking powder: This is the rising agent to help them be fluffy.
- Salt: Salt balances the sweet.
- Ground Cinnamon: Cinnamon is the perfect spice for zucchini.
- Shredded zucchini about 3 medium: Even extra large zucchini will work for this recipe.
- Pecans chopped: Give the zucchini bars texture and crunch.
Brown Butter Frosting
This brown butter frosting recipe is one of the best! It takes these zucchini bars to the next level. For all measurements see the recipe card below.
- Butter: You have to use real unsalted butter for the flavor.
- Powdered sugar: Gives the frosting its sweetness.
- Vanilla: Adds flavor that goes with the zucchini bars.
- Milk: Add more or less to thin it out to desired consistency.
How to Make Zucchini Bars with Browned Butter
In three simple steps, you will have the perfect combination of sweet and savory dessert. Use up your zucchini from your garden in this zucchini bar recipe. Feed a crowd with this summertime dessert!
- Prep and mix: Preheat oven to 350 degrees and grease a 15x10x1 inch pan. In a medium mixing bowl, add flour, baking powder, salt, and cinnamon. Set aside.
- Wet ingredients: In a mixer, add sugar, oil and eggs and mix until smooth. Add the dry ingredients to the wet ingredients until incorporated.
- Bake: Stir in zucchini and chopped pecans. Spread evenly in prepared pan. Cook for 30-40 minutes or until toothpick inserted in center comes clean. Let bars cool completely.
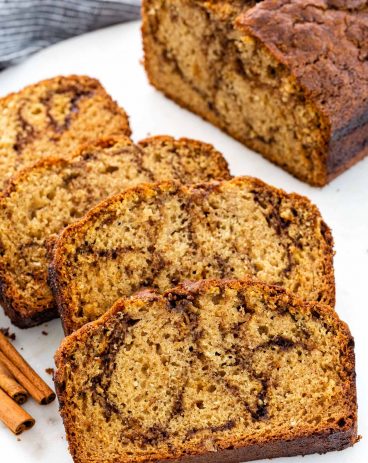
- Make Frosting: To make the brown butter frosting, heat a medium sized saucepan to medium heat. Add butter and whisk until it turns brown. Add in powdered sugar, vanilla and milk. Stir together until smooth. Spread over cooled bars.

The Best Zucchini Bars Tips
These are decadent, luscious, and easy-to-make dessert bars. Zucchini is so easy to shred and prepare for this simple zucchini bar recipe. Add in nuts or chocolate chips even to make it a variety of zucchini bars!
- Zucchini: When shredding your zucchini do it finely, especially if you are worried about kids figuring out what’s hiding in their dessert. The smaller the easier it is to hide. You can also peel the zucchini, but it isn’t necessary. Do not to squeeze out any extra liquid. You want the moisture to create the best bars ever.
- Pecans: If you do not like pecans you can leave them out or use walnuts.

How To Brown Butter
Don’t be scared by browning butter, it is super simple and foolproof if you follow these tips. To get the best-browned butter you really need to use unsalted butter. There are several reasons you want to use unsalted butter. First, unsalted butter is going to be fresher. Salt acts as a preservative so salted butter will have a longer shelf life, meaning unsalted will be fresher.
- Use a light colored pan: You want to be able to see the brown bits form at the bottom of the pan. Using a dark colored pan will prevent you from seeing when the those have formed and this is a key clue to when your butter is done. Those dark specks are the toasted milk solids that bring the flavor, so don’t leave them behind.
- Don’t Stop Stirring: This will make sure your butter cooks evenly and will help it from going from brown to burnt too fast, which can happen.
- Cut the butter into pieces: Again you want it to cook evenly and cutting it will help it do so.
- Remove from heat and pan: Once your butter has foamed, turned golden brown and the brown specks form, you want to remove it from the heat. Transfer the butter to a different pan as well or as in this case add something to the pan. This will help the butter stop cooking so it doesn’t go from browned to burnt.
- Smell: It should have a buttery, nutty rich smell as well.

How to Store Zucchini Dessert Bars
Zucchini bars with butter frosting will keep at room temperature for up to 3 days. They will last even longer in the fridge up to 10 days. You can also freeze them. Refrigerate the bars first then cut into bars and place in freezer-safe bags.

More Zucchini Recipes to Try
Dinner
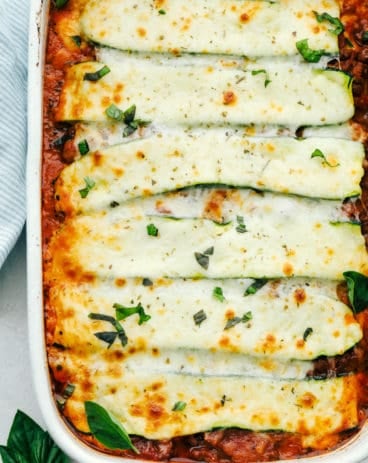
Zucchini Lasagna
American
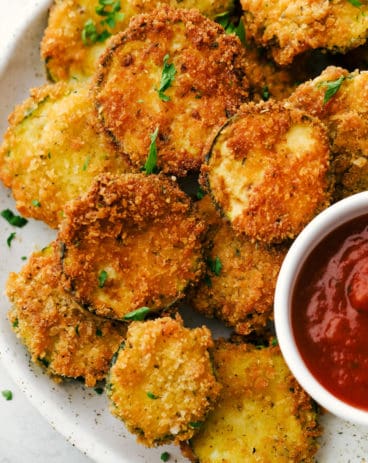
Crispy Parmesan Fried Zucchini
Desserts
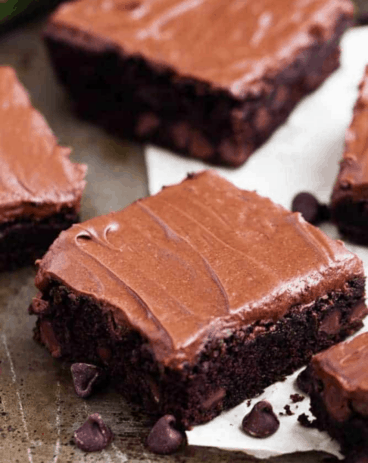
Double Chocolate Zucchini Brownies
Zucchini Bars with Brown Butter Frosting
Ingredients
- 1 1/2 cups granulated sugar
- 1 cup vegetable oil
- 3 large eggs
- 2 cups all purpose flour
- 1 teaspoon baking powder
- 1/2 teaspoon salt
- 1 1/2 teaspoons ground cinnamon
- 2 cups shredded zucchini about 3 medium
- 1 1/2 cups pecans chopped
Brown Butter Frosting:
- 6 tablespoons butter
- 6 cups powdered sugar
- 1 teaspoon vanilla
- 8 to 10 tablespoons milk
Instructions
-
Preheat oven to 350 degrees and grease a 15x10x1 inch pan. In a medium mixing bowl, add flour, baking powder, salt, and cinnamon. Set aside.
-
In a mixer, add sugar, oil, and eggs and mix until smooth. Add the dry ingredients to the wet ingredients until incorporated.
-
Stir in zucchini and chopped pecans. Spread evenly in prepared pan. Cook for 30-40 minutes or until a toothpick inserted in the center comes clean. Let bars cool completely.
To make the Brown Butter Frosting
-
Heat a medium-sized saucepan to medium heat. Add butter and whisk until it turns brown. Add in powdered sugar, vanilla, and milk. Stir together until smooth. Spread over cooled bars.
Notes
Nutrition
from The Recipe Critic https://ift.tt/3f2aCMe
https://ift.tt/2USnNbG