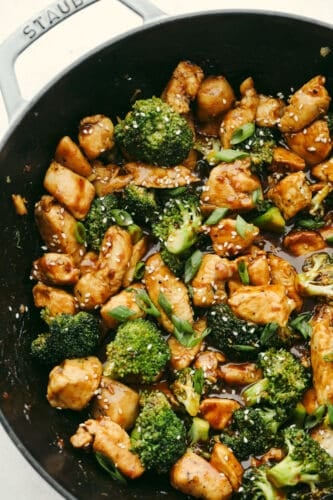
Stir-fried chicken and broccoli are topped with a mouthwatering Hoisin sauce glaze in this super easy recipe. Loaded with amazing Cantonese flavor, hoisin chicken is going to become a new regular in your dinner rotation!
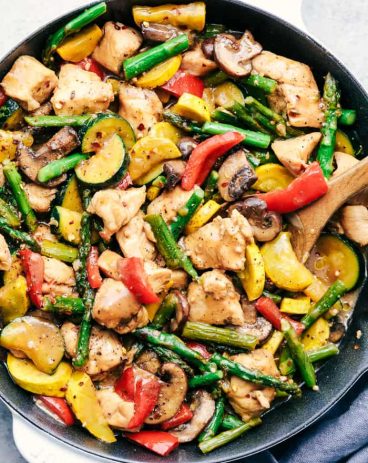
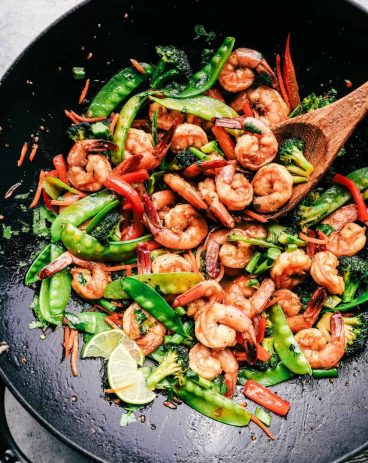
There is nothing better than a stir fry recipe sizzling with an Asian flavor. Korean beef, cashew chicken, and beef and broccoli stir-fries are more of my favorites that you should most definitely try!

Easy Hoisin Chicken Stir Fry Recipe
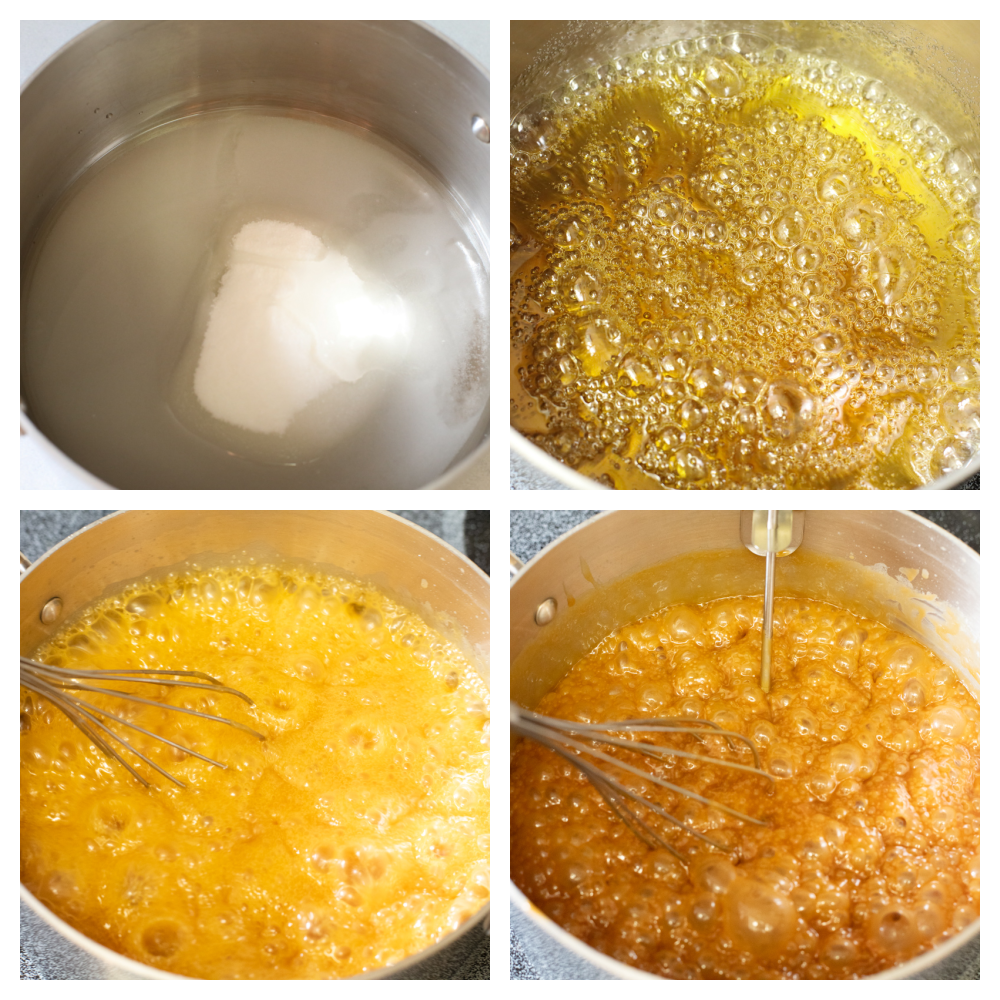
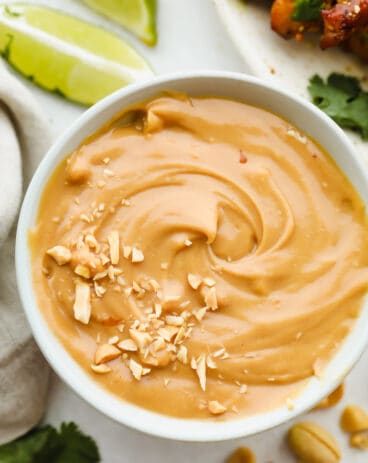
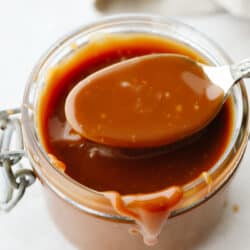
This tasty recipe showcases juicy cuts of chicken and fresh broccoli blanketed in homemade hoisin sauce! If you haven’t already seen my hoisin sauce post, I am here to tell you that this sauce is everything you need in your life right now. Super popular in Cantonese cooking, it begins with a soy sauce base. Then, we add stellar flavors like garlic, sriracha, sesame, and a secret ingredient- peanut butter! The result is a thick, glossy glaze bursting with notes of spicy, savory, sweet, and a whole lot of mouthwatering creaminess. You can easily make this sauce at home to use for a variety of dishes! At my house, we have been loving hoisin sauce for dipping, marinating, and layering on rice bowls.
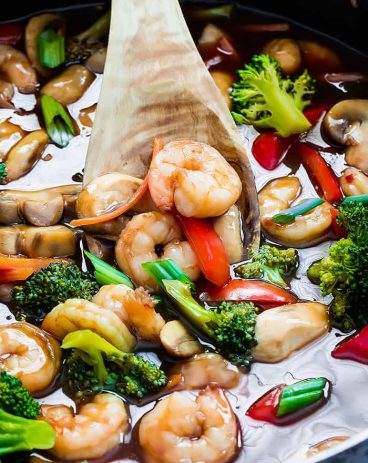
My favorite use so far, though, has been using hoisin sauce in this delicious chicken stir fry with broccoli. I wish I could let you taste test a piece of this chicken right now through your screen. The creamy, thick sauce layers perfectly on top of your meat and veggies. Then, it sinks down into every nook and cranny, adding a punch of delicious, complex flavor to every bite! Combine that with tender broccoli and juicy chicken sizzled to a perfect golden brown. The result? A super easy meal with flavors rivaling your favorite Chinese takeout place! And if you are looking for more of that perfect takeout flavor, try my shrimp-fried rice and cashew chicken, too!
Ingredients for Hoisin Chicken With Broccoli
Because this recipe only takes a few ingredients to make, it is the perfect simple meal to whip up anytime! You can satisfy your cravings for Chinese takeout in your kitchen with ease! All individual measurements can be found in my recipe card below. Be sure to refer to my hoisin sauce recipe to craft your own batch at home!
- Olive Oil: This is what will help both your broccoli and chicken cook up perfectly. Grapeseed and sunflower oil are other great substitutes.
- Chicken Breasts: In this recipe, I use boneless and skinless chicken breasts. It makes it easier to cut into small pieces.
- Salt and Pepper: Add these to taste!
- Broccoli Florets: You can cut these into smaller pieces as needed. Want your broccoli super tender? See my tips on blanching below!
- Hoisen Sauce: The star of the show! You can use store-bought hoisen sauce, but my recommendation is to make your own sauce at home. This way, you can customize the flavor to your liking!
- Sesame Seeds and Green Onions: I use sesame seeds and green onions for garnish. They add a pop of texture and extra flavor!
Making the Best Hoisin Chicken Stir Fry
You are going to love how easy it is to make this tasty one-pan meal! You can’t go wrong with this staple recipe. It is the perfect way to add incredible Asian flavor to weeknight dinners- minus the effort.
- Prep Skillet and Cook Chicken: In a medium sized skillet heat olive oil over medium high heat. Add the chicken and salt and pepper. Cook until no longer pink in the center. Remove and set aside on a plate.
- Cook Broccoli Until Tender: Add the broccoli and cook for about 3-4 minutes until they are tender.
- Mix in Sauce and Chicken: Add in the chicken and hoisin sauce. Heat until cooked throughout.
- Serve: Serve over rice and garnish with sesame seeds and green onions.

What to Serve Your Hoisin Chicken With
The best way to serve up a delicious Chinese entrée is with delicious sides! These are super simple recipes that won’t keep you slaving away in the kitchen. A lot of them utilize the air fryer for easy, hands-off cooking! You will love the flavors these all have and how they complete your meal.
Appetizers
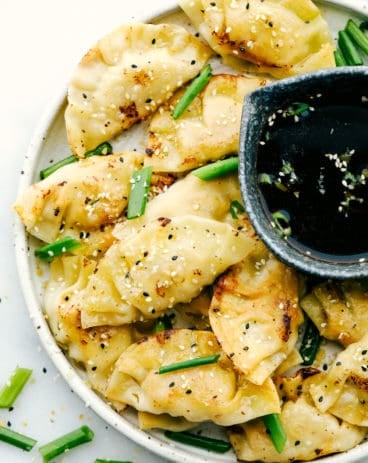
Amazing Chicken Potstickers

Side Dishes
Air Fryer Cream Cheese Wontons

Dinner
Crispy Air Fryer Egg Rolls
Appetizers
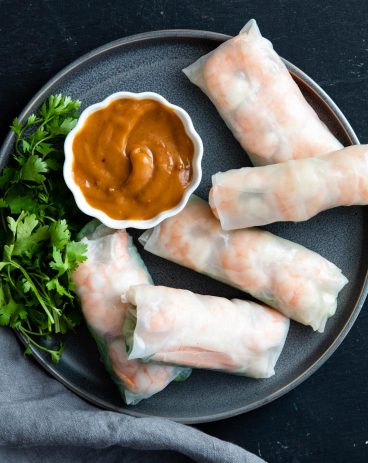
Shrimp Spring Rolls
Tips for Perfecting Your Stir Fry
A few simple tips, tricks, and cooking techniques can help you to upgrade your hoisin chicken stir fry. You can easily customize your meal to your liking! I know the end result will be irresistible!
- Blanching Broccoli: It takes a few extra minutes of prep time, but for extra soft and tender broccoli you can blanch before adding them to your skillet! Simply add your broccoli to a pot of boiling water seasoned with salt. Cook for 2-3 minutes and drain. Once you stir fry them, the result will be more soft and delicious.
- Get Your Pan Hot Enough: The key to sizzling, perfectly browned flavor is a hot pan. Make sure your pan and oil are completely hot before adding anything into your skillet. I recommend at least 5 minutes on high heat.
- Cut Uniform Pieces: Making sure your vegetables and chicken are cut into small, uniform pieces will make everything cook through thoroughly and at the same rate. It allows your skillet to have more surface area and air flow.
- Adding Spice: If you want more of a kick, you can add a dash of sriracha or chili flakes to your stir fry.
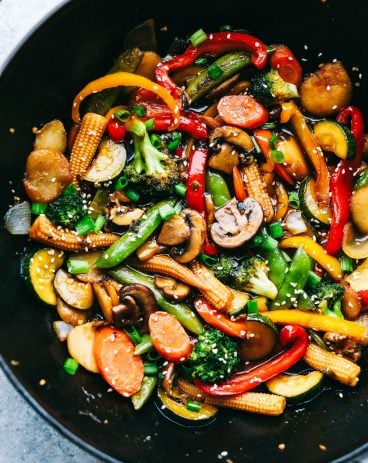
- Adding Other Vegetables: Chopped onions, mushrooms, and bell peppers are more great veggies to throw in to this tasty stir fry! You can also add in more traditional vegetables like Chinese cabbage, bok choy, and radish.
- Marinating Chicken: For chicken that is supremely tender and flavorful, you can marinate your chicken in hoisin sauce for 30 minutes before cooking.
- Stir Often: Be sure to stir your ingredients often! This will keep the high heat of the pan from overcooking any of your ingredients.

Storing Leftover Hoisin Chicken With Broccoli
Chinese food is arguably one of the best cuisines for leftovers. It always tastes great, if not better when heated up the next day!
- In the Refrigerator: Store your stir fry in an airtight container. It will keep for up to 4 days.
- Reheating: Stir fries are best reheated on the stove. Add a bit of oil and then cook until warmed through on low to medium heat. Serve over rice or noodles for a quick and tasty lunch!

More Easy Stir Fry Recipes

Hoisin Chicken
Ingredients
- 1 Tablespoon Olive oil
- 1 pound boneless skinless chicken cut into 1 inch pieces
- salt and pepper
- 2 cups broccoli florets
- 1 cup hoisin sauce about 1 cup Hoisen sauce
- sesame seeds and chopped green onions for garnish
Instructions
-
In a medium-sized skillet heat olive oil over medium-high heat. Add the chicken and salt and pepper. Cook until no longer pink in the center. Remove and set aside on a plate.
-
Add the broccoli and cook for about 3-4 minutes until they are tender.
-
Add in the chicken and hoisin sauce. Heat until cooked throughout. Serve over rice and garnish with sesame seeds and green onions.
Nutrition
from The Recipe Critic https://ift.tt/3kmJCZO
https://ift.tt/38aKpau