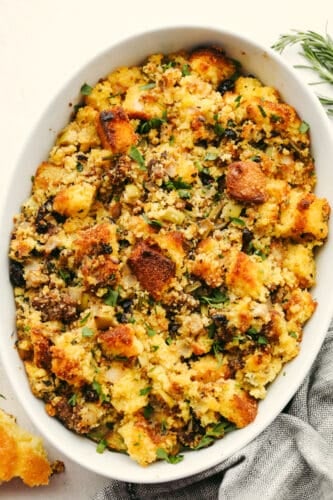
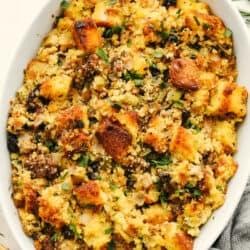
Cornbread stuffing is a delicious hearty dish that your family will go crazy over this Thanksgiving! It’s loaded with fresh herbs, fruits, and veggies for the perfect sweet and savory side.
Sides are what make a Thanksgiving successful! Some of my favorites are sweet potato casserole, corn pudding, and cranberry cheesecake fluff. You’ve got to try them this year!

Easy and Delicious Cornbread Stuffing Recipe
Stuffing is one of those recipes that come in all shapes and sizes. Some like their stuffing loaded with meat. If that’s your thing, you’ve got to try my sausage herb stuffing! Others like it chock full of yummy roasted vegetables. Regardless of how you make it, stuffing is a Thanksgiving staple. I’m super excited to share this cornbread stuffing recipe today! I love cornbread in general, but when you combine it with Italian sausage, fresh herbs, and little chopped veggies, it somehow becomes even better.
If we want to get technical, because this cornbread stuffing is baked in a casserole dish, it is a “dressing” recipe. This means, rather than being baked inside of a turkey, it’s a standalone side! You can definitely bake it inside a turkey if you’d like! I just prefer to bake it alone to make things a little easier on myself come Thanksgiving. It’s so easy to pop in the oven! The little chunks of cornbread mixed with flavorful sausage and herbs is an absolute delight. It’s a comfort food twist on a classic holiday side. You’re going to love it!
Ingredients for Cornbread Stuffing
It takes quite a few ingredients to get this stuffing as flavorful and delicious as it needs to be. But don’t worry! Most of them are herbs and spices, and are probably hanging out in your spice rack right now! I love tasty holiday recipes that use basic ingredients. One less thing to shop for amidst the Thanksgiving madness is a win in my book!
- Italian Sausage: I love using crumbled Italian sausage because it’s so flavorful! You can swap this for sweet or even spicy sausage instead!
- Onion: A chopped onion is going to give you that perfect punch of flavor. Because of their more mild flavor, I like using yellow onions here. They have the best blend of sharp and sweet!
- Celery: Stuffing isn’t stuffing without a little chopped celery! I love the fun texture it adds to the entire dish.
- Granny Smith Apple: It may be surprising, but apples are a key player here! When baked, diced apple pieces will give your stuffing a tasty complex flavor. Apples balance out savoriness.
- Unsalted Butter: Added for moisture and yummy rich flavor!
- Dried Cranberries: I LOVE getting a cranberry in a bite of stuffing. Their sweet-tart flavor is amazing nestled in cornbread and sausage.
- Cornbread: Using cornbread is absolutely delicious and also gluten-free! You’ll want your cornbread pieces toasted for best results. This will keep them from becoming too soggy once you add ingredients like chicken broth and milk.
- Large Eggs: Used to hold everything together!
- Chicken Broth: I add chicken broth to my stuffing to flavor it and add a little moisture. No one likes bone-dry stuffing!
- Milk: A little milk is going to give your dish a nice creaminess! When baked, it makes each bite rich and tasty.
Herbs and Spices
- Parsley: Parsley is earthy and flavorful.
- Sage: You can’t skip sage! It is one of the key flavors in stuffing. It’s strong and peppery with a hint of mint. Perfect for dishes where you’re flavoring bread!
- Rosemary: Perfectly sweet and aromatic, rosemary is a must-add!
- Thyme: Zesty and sharp, thyme is great for balancing out the other herbs.
- Salt and Pepper: Add to taste! I love a peppery stuffing.
How to Make Cornbread Stuffing
Now that you’ve got your ingredients ready, let’s make a knockout Thanksgiving side! This cornbread stuffing is really easy to make but will please a crowd. Sit back and watch as people come back for seconds and thirds! Just make sure to save enough for yourself! It will be gobbled up in no time.
- Prep Oven and Baking Dish: Let’s make stuffing! To begin, preheat the oven to 350°. Spray a 9×13 roasting pan or a 12 inch oval baking dish with pan spray and set aside.
- Sauté: Until browned, cook sausage in a medium skillet. Remove from the pan and set aside. Next, add the onion, celery, apple and butter to the pan and sauté over medium heat until the onion is translucent, about 4 minutes. Remove and add to the same bowl as the cooked sausage.
- Add Herbs and Cornbread: Add the chopped herbs and cranberries to the bowl of sausage and cooked vegetables. In another larger bowl, add the diced cornbread. If you need to toast your cornbread, place it evenly on a baking sheet and bake at 350° for 10 minutes. before adding to the large bowl
- Combine Wet Ingredients: In a liquid measuring cup, combine the salt, pepper, eggs, chicken broth and milk.
- Mix and Bake: Add the vegetable and herb mixture to the cornbread and pour the liquid ingredients over it. Toss gently to combine. Pour into the prepared baking dish and bake for 35-40 minutes.

Tips and Tricks for Making Stuffing
Here are a few ways I personally like to enhance my cornbread stuffing! This is a super customizable, tasty side dish that you are going to love.
- More Fillings: Stuffing is a great way to showcase a bunch of different fillings. Besides sausage and herbs, some other things you can add to this recipe are ham cubes, oysters, mixed nuts, mushrooms, bacon, or even cider instead of chicken broth. You can also use a dollop of cream of chicken soup for a little extra creaminess and savory flavor.
- Make it Ahead: This stuffing is a lifesaver! You can prepare it in your casserole dish, wrap in plastic wrap, and store in the fridge for up to 24 hours. Once you’re ready to bake it, let it come to room temperature and then pop it in the oven! Making things in advance definitely relieves some pressure on Thanksgiving.
- Use Fresh Herbs: If possible, use fresh herbs in your stuffing. It will make all the difference in the flavor and aroma!
- Toast Your Bread: Toasting your cornbread is a must before making your stuffing. You want a harder bread, stale even, to ensure your stuffing doesn’t end up a soggy mess.
- Using Leftovers: Leftover cornbread stuffing tastes great layered in a turkey sandwich. You can also use it in stuffed peppers, mushrooms, and tomatoes for a delicious snack.
How Do I Store Leftover Cornbread Stuffing?
It’s super easy! All you’ve got to do is pop it in the fridge and it’s ready to be enjoyed days later! Stuffing is so versatile- you can add it to your favorite recipes like waffles, stuffed veggies, meatballs, and more!
- In the Refrigerator: Store leftover stuffing in an airtight container for 4-5 days.
- Reheating: Place stuffing in a casserole dish. You can add a splash of broth if it has started to dry out. Cover with tin foil and warm at 350 degrees Fahrenheit for 25-30 minutes.

More Amazing Thanksgiving Sides
Side Dishes
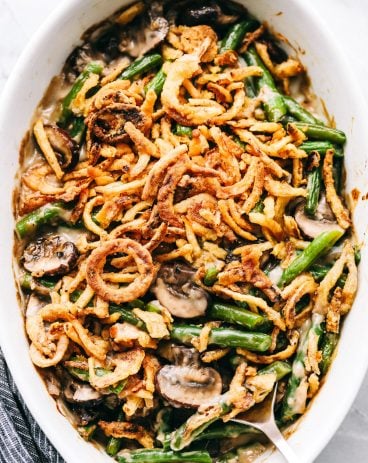
World’s Best Green Bean Casserole
Side Dishes
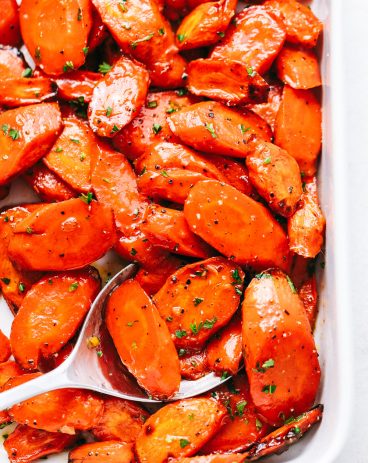
Best Ever Glazed Carrots

Side Dishes
Roasted Honey Cinnamon Butter Sweet Potatoes
Side Dishes
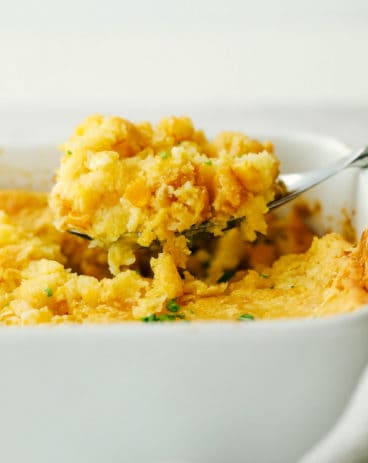
5 Ingredient Corn Casserole
Cornbread Stuffing
Ingredients
- ¾ cup sweet Italian sausage
- 1 onion small dice
- 3 stalks celery small dice
- 1 granny smith apple small dice
- 2 tablespoons unsalted butter
- 1 tablespoon parsley chopped
- 1 tablespoon fresh sage chopped
- 1 teaspoon fresh rosemary chopped
- 2 teaspoons fresh thyme chopped
- ½ cup dried cranberries chopped
- 8 cups cornbread cut into 1 inch squares and toasted
- 1 teaspoon salt
- ½ teaspoon ground pepper
- 2 large eggs beaten
- 1 ½ cups chicken broth
- ¾ cup milk
Instructions
-
Preheat the oven to 350°. Spray a 9×13 roasting pan or a 12-inch oval baking dish with pan spray and set aside.
-
In a medium skillet cook the sausage until browned. Remove from the pan and set aside. Add the onion, celery, apple, and butter to the pan and sauté over medium heat until the onion is translucent about 4 minutes. Remove to the same bowl as the cooked sausage.
-
Add the chopped herbs and cranberries to the bowl of sausage and cooked vegetables. In another larger bowl add the diced cornbread. If you need to toast your cornbread, place it evenly on a baking sheet and bake at 350° for 10 minutes before adding it to the large bowl
-
In a liquid measuring cup combine the salt, pepper, eggs, chicken broth, and milk.
-
Add the vegetable and herb mixture to the cornbread and pour the liquid ingredients over it. Toss gently to combine. Pour into the prepared baking dish and bake for 35-40 minutes.
Nutrition
from The Recipe Critic https://ift.tt/3wVBPYL
https://ift.tt/3nnymiq