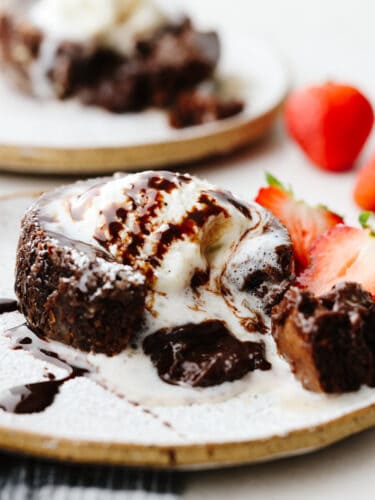
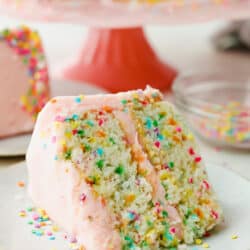
Chocolate lava cake is the ultimate dessert. It’s a showstopper, moist cake that has an oozing chocolate center. Your guests will go crazy over this recipe!
Chocolate is everyone’s favorite when it comes to dessert. Try these brownies, peanut butter cups, and this fantastic pie if you love chocolate.

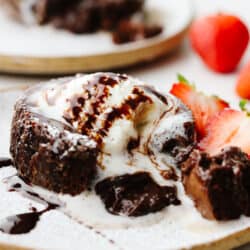
Chocolate Lava Cake
Hey, there, fellow chocolate lover! If there was a dessert that celebrated chocolate in all its glory, it’s this one. It’s so fancy and something that my kids want to order every time they see it on a menu at a restaurant! I’m talking about a nice crust on the outside, and as you cut into it, there’s flowing melty chocolate that oozes out. This moist cake has a perfect consistency.
Legend has it that a chef once wanted to make mini chocolate cakes. When he was ready to serve them, he realized that they were underbaked in the center. He ended up serving them anyway, and the dessert came to be called chocolate lava cake. The guests enjoyed it! These are simple to make and delightful to eat! Try them out. You may just end up with a new go-to dessert for all of your dinner parties!
Ingredients for Chocolate Lava Cake
This list of ingredients is pretty simple and you won’t believe how easy it is to make these homemade lava cakes. See the recipe card at the bottom of the post for exact measurements.
- Eggs: You will use whole eggs and egg yolks in this recipe. I like to make sure that my eggs are at room temperature when I start mixing the batter.
- Sugar: You don’t have to use too much sugar to make this recipe delicious and sweet!
- Chocolate: You can use dark or milk chocolate for these desserts. they both tastedelicious, it’s just a personal preference of what you like better.
- Butter: Use unsalted butter that is at room temperature for this recipe.
- Vanilla extract: This brings out the sweet flavors in the cake.
- Cocoa powder: The cocoa powder will amplify that choclatey taste.
- Flour: All purpose flour works great for this recipe.
Let’s Bake a Cake!
These chocolate lava cakes are baked in a pre-heated oven at a higher temperature than what you would normally use for cakes. And that’s because you want a crust formed on the outside and have the center to still remain soft and gooey.
- Prepare the ramekins: Butmter the insides of four ramekins well, and dust with flour. Set aside.
- Melt butter and chocolate: Melt butter and chocolate in the microwave and set aside to cool.
- Whisk: Whisk together egg yolks, eggs and sugar till light and creamy.
- Add vanilla: Add the chocolate mixture and vanilla extract and mix well.
- Sift: Sift cocoa powder and flour in the mixture and stir to combine
- Divide: Divide the mixture into the four ramekins and refrigerate for 30 minutes and up to two hours.
- Preheat oven: When ready to bake, preheat the oven to 425F.
- Bake: Place the ramekins in a casserole dish. Pour hot water into the dish, such that it comes halfway up the ramekins. Bake for 15-18 minutes. Once baked, let them cool for 10 minutes before inverting the ramekins on a serving plate to serve.

What if I Don’t Have Ramekins?
If you don’t have ramekins then that’s totally ok! You can use a muffin pan for these chocolate lava cakes instead. Grease the muffin pans before you pour the batter into them. Bake them for 8-10 minutes at 425 degrees. When they are done baking then use a spoon to get them out of the muffin tin and place them upside down on a plate to serve.

Making This Ahead of Time
This chocolate lava cake is a great dessert, especially for parties or get-togethers, because it can be made ahead of time.
- Refrigerate: You can make the batter and refrigerate it for a few hours. When you are ready to serve, just bake it in the oven for 15-18 minutes and you are ready to go.
More Chocolate Desserts to Try
Desserts
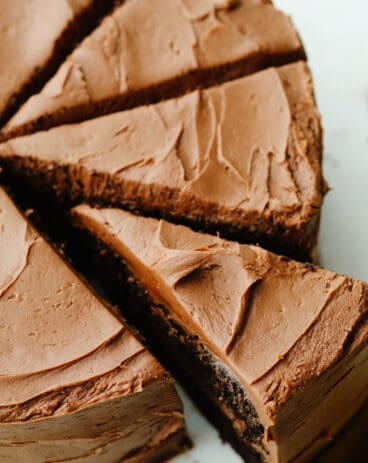
Classic Chocolate Cake
Desserts
Chocolate Lasagna

Desserts
Chocolate Cupcakes

Desserts
Death by Chocolate Cheesecake
Chocolate Lava Cake
Ingredients
- 2 egg yolks
- 2 large eggs
- 3 tablespoons sugar
- 3.5 ounces dark or milk chocolate
- 5 tablespoons butter, plus extra for brushing
- 1/4 teaspoon vanilla extract
- 4 teaspoons cocoa powder
- 3 tablespoons flour
Instructions
-
Butter the insides of four ramekins well, and dust with flour. Set aside.
-
Melt butter and chocolate in the microwave and set aside to cool.
-
Whisk together egg yolks, eggs, and sugar till light and creamy.
-
Add the chocolate mixture and vanilla extract and mix well.
-
Sift cocoa powder and flour in the mixture and stir to combine
-
Divide the mixture into the four ramekins and refrigerate for 30 minutes and up to two hours.
-
When ready to bake, preheat the oven to 425F.
-
Place the ramekins in a casserole dish. Pour hot water into the dish, such that it comes halfway up the ramekins. Bake for 15-18 minutes. Once baked, let them cool for 10 minutes before inverting the ramekins on a serving plate to serve.
Notes
Nutrition
from The Recipe Critic https://ift.tt/2JuWf3b
https://ift.tt/3nQS5XH


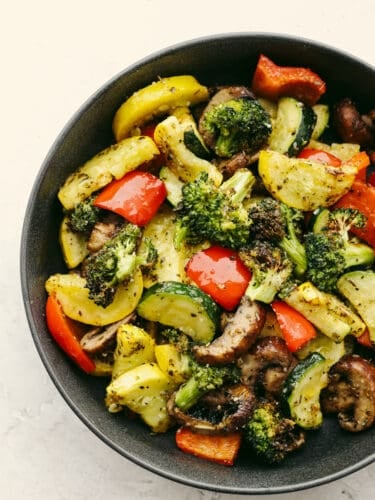
 than this! Crispy and tender, these veggies will be the best side dish that you've ever had!")
 than this! Crispy and tender, these veggies will be the best side dish that you've ever had!")
 than this! Crispy and tender, these veggies will be the best side dish that you've ever had!")