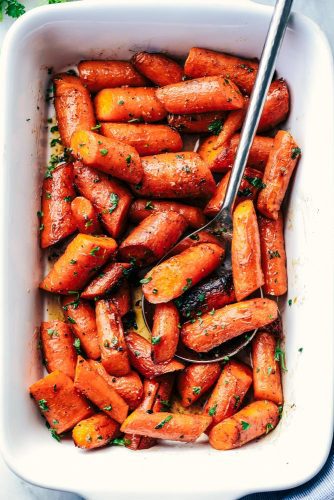
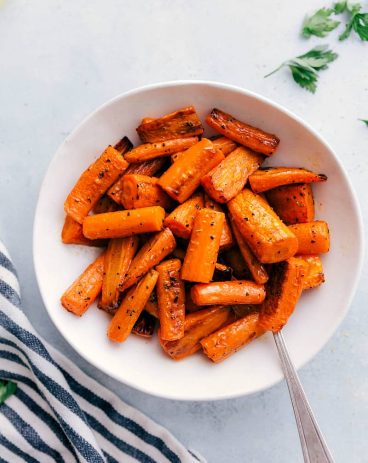
Roasted brown butter honey garlic carrots make an excellent side dish. Roasted to tender perfection in the most incredible sauce these will become a new favorite!
I love these tried and true carrots! They are a MUST TRY side dish and go so well with these Green Beans with Bacon, Cauliflower, or Mashed Potatoes.

Roasted Brown Butter Honey Garlic Carrots
A good side dish is something that I think everyone needs to have on hand. I looooove these carrots because the brown butter glaze really takes them to the next level! The taste is so delicious and goes with just about everything. Plus, they are SO easy to make! Tastes good and is easy to make is a win-win! I mean, it doesn’t get much better than that! Try making this salad, these rolls, and this asparagus to go with them!
Brown butter is life. I am convinced that it makes everything better. This made me want to create something with this perfect combination! I made these carrots only once and they turned out more than perfect. They are soft, a little crispy, and had just the right amount of flavor to them. My family ate these carrots before we even finished sitting down together. They are simple to make and taste just SOO GOOD.
Ingredients to Make Brown Butter Honey Garlic Carrots
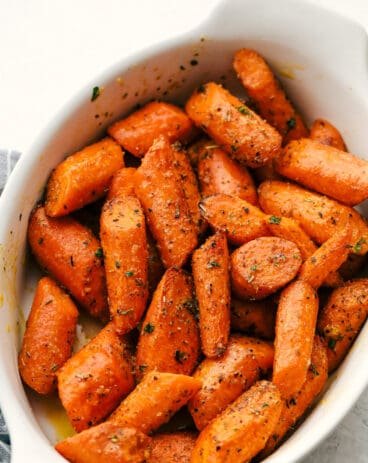
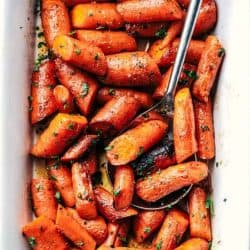
These tried and true carrots make such a perfect side to your next meal. I promise that you will agree that these carrots are the best that you have ever had! See the recipe card at the bottom of the post for exact measurements.
- Carrots: You can use large carrots and cut them up or you can use baby carrots instead!
- Butter: I used unsalted butter in this recipe!
- Honey: The honey brings in a sweet taste without being too much.
- Garlic cloves: If you don’t have any cloves then you can just use minced garlic! ½ tsp equals about 1 clove of garlic.
- Salt and pepper: I use this to tatste so it’s all about personal preference.
- Parsley: If you decide to use this as a garnish, fresh parsley works the best!
Let’s Make Brown Butter Honey Garlic Carrots!
I love to roast my veggies because it gives them a tender center and a crisp edge. It only takes about 15 minutes until these carrots are done and they are going to really be the star of the dinner table.
- Preheat oven and cook butter: Preheat oven to 425 degrees. In a medium saucepan add the butter and cook over medium high heat. Continue to whisk for a few minutes until the butter starts to become frothy and brown. Add the honey and garlic and remove from heat.
- Toss and season: In a large bowl add the carrots and drizzle the sauce on top. Toss until coated and spread evenly on a large baking sheet. Season with salt and pepper.
- Bake and garnish: Bake for 15-20 minutes or until carrots are tender. I like to cover with foil for the first 10 minutes and then remove and let roast and brown for the last 10 minutes. Transfer to a serving dish and garnish with parsley. Serve immediately.

Do Carrots Have to be Peeled before Cooking?
This brown butter carrots recipe can be made with large carrots or baby carrots. Baby carrots come already peeled so it doesn’t matter with those. It’s just the large carrots! But, when it comes down to it, you don’t ever really have to peel carrots. As long as you wash and scrub them well to remove dirt and any debris, unpeeled carrots are perfectly safe (and delicious) to eat. Some people don’t like the taste of carrot skin and say it has an unpleasant, bitter taste.

How to Make These Ahead of Time
These brown butter carrots are so good and something that you will be tempted to add to every meal that you make! Here is how you can store them to eat later!
- Make ahead of time: Carrots may be prepared up to 3 days ahead. Once you have cooked them according to the directions, wait for them to cool. Cover them in an airtight container and refrigerate them. When you are ready to eat them then toss cook them on the stove over medium-high heat. Stir and toss them constantly until the carrots are tender and well glazed. This takes about 5 minutes!
More Delicious Carrot Recipes to Try
Side Dishes
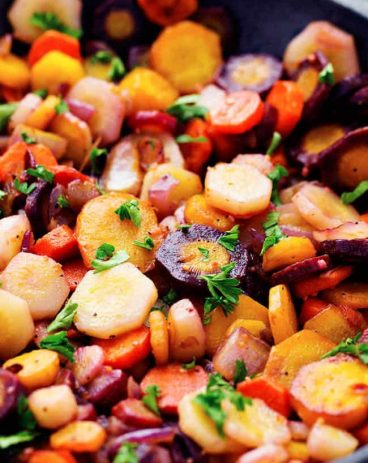
Sautéed Brown Butter Garlic Rainbow Carrots
Side Dishes
Honey Orange Glazed Carrots
Side Dishes
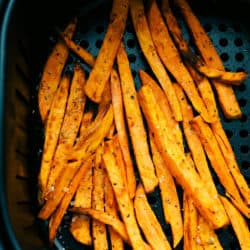
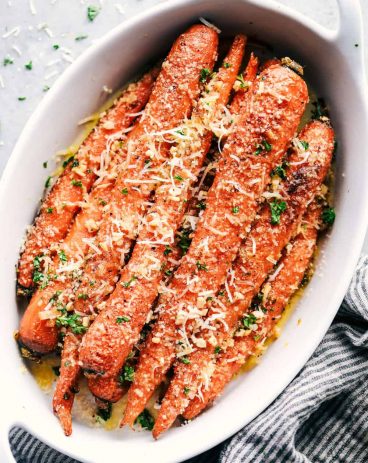
Parmesan Garlic Air Fryer Carrots
A Reader’s Review
Roasted Brown Butter Honey Garlic Carrots
Ingredients
- 2 pounds large carrots cut into 2 inch pieces (baby carrots will also work)
- 1/2 cup butter
- 3 Tablespoons honey
- 2 garlic cloves chopped
- salt and pepper
- parsley chopped for garnish
Instructions
-
Preheat oven to 425 degrees. In a medium saucepan add the butter and cook over medium-high heat. Continue to whisk for a few minutes until the butter starts to become frothy and brown. Add the honey and garlic and remove from heat.
-
In a large bowl add the carrots and drizzle the sauce on top. Toss until coated and spread evenly on a large baking sheet. Season with salt and pepper.
-
Bake for 15-20 minutes or until carrots are tender. (see note) Transfer to a serving dish and garnish with parsley. Serve immediately.
Notes
Nutrition
from The Recipe Critic https://ift.tt/2T1l8JZ
https://ift.tt/2TK5N1s