शुक्रवार, 30 अक्तूबर 2020

Fried Catfish

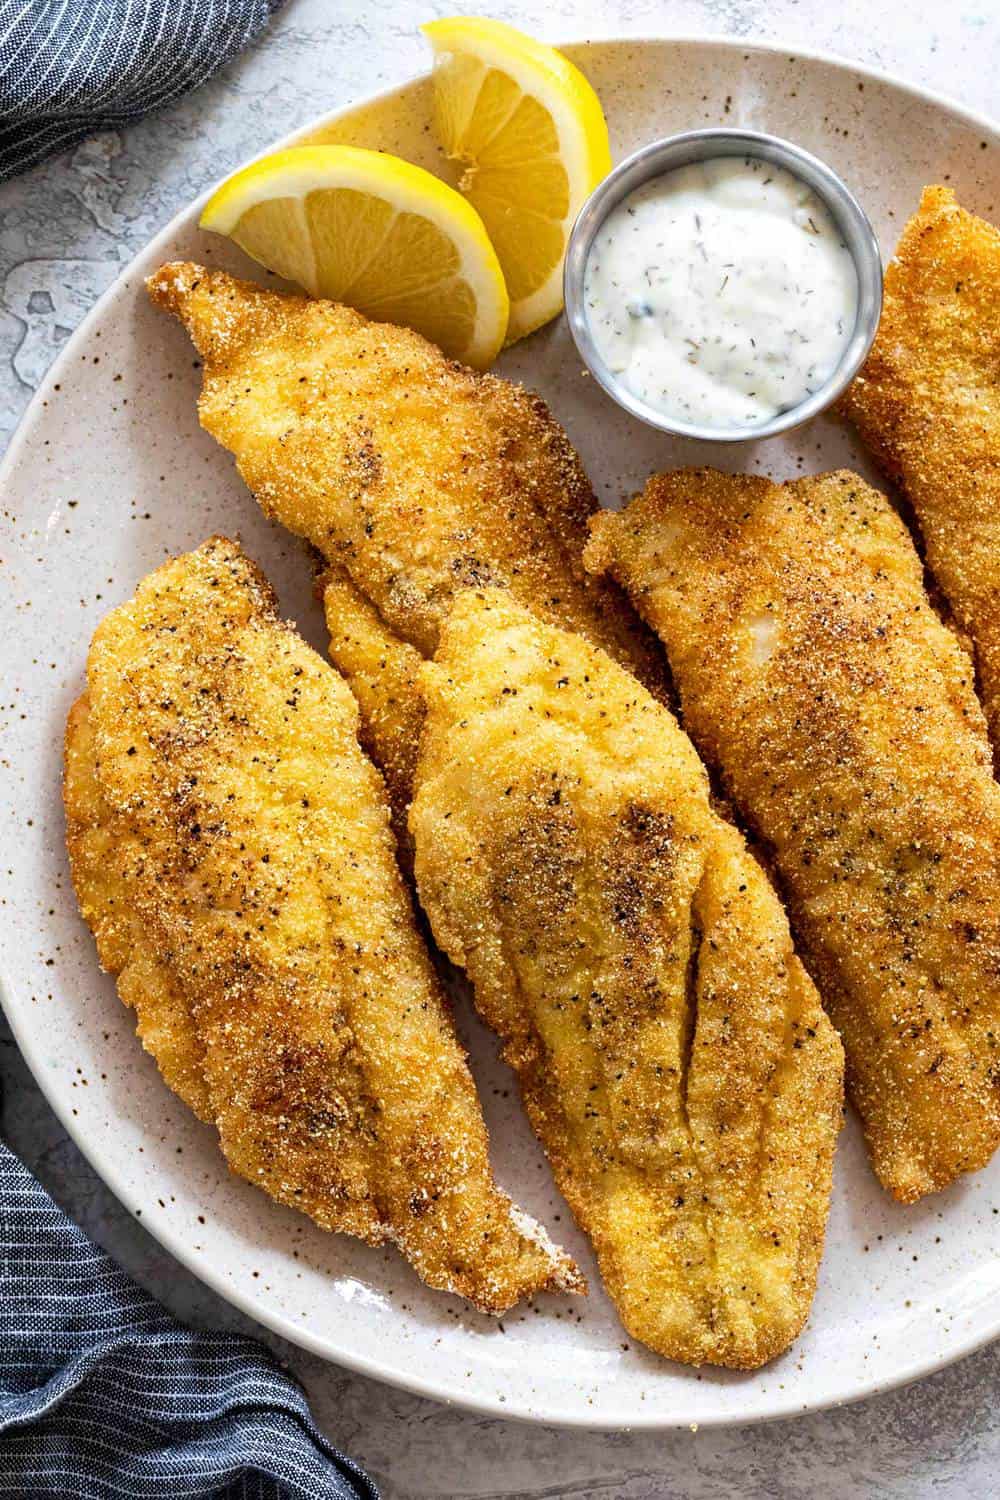
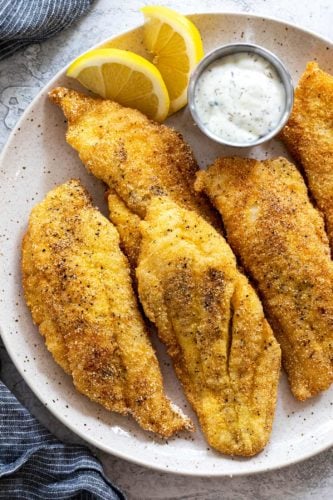
Fried catfish is a delicious quick to prepare main seafood dish. The seasoned cornmeal coating creates a golden crispy crust. Serve with your favorite Southern-inspired side dishes. 

Dinner from the ocean is a real treat! Try more seafood meals like this  The Best Lobster Tail Recipe, Garlic Butter Herb Scallops, or Cajun Garlic Butter Shrimp

Fried Catfish on a white plate with two lemon slices.

Pan Fried Catfish

If you’re looking for a quick and delicious fish dinner, fried catfish is a satisfying dish. The flakey white fish is perfect for pan-frying. The fillet is lightly coated with a cornmeal coating and fried until crispy. Plus, it only takes minutes to prepare and cook.

Serve with savory side dishes for a complete meal. When my family is craving southern comfort food, if I’m not making buttermilk fried chicken, this fish recipe is always a hit!
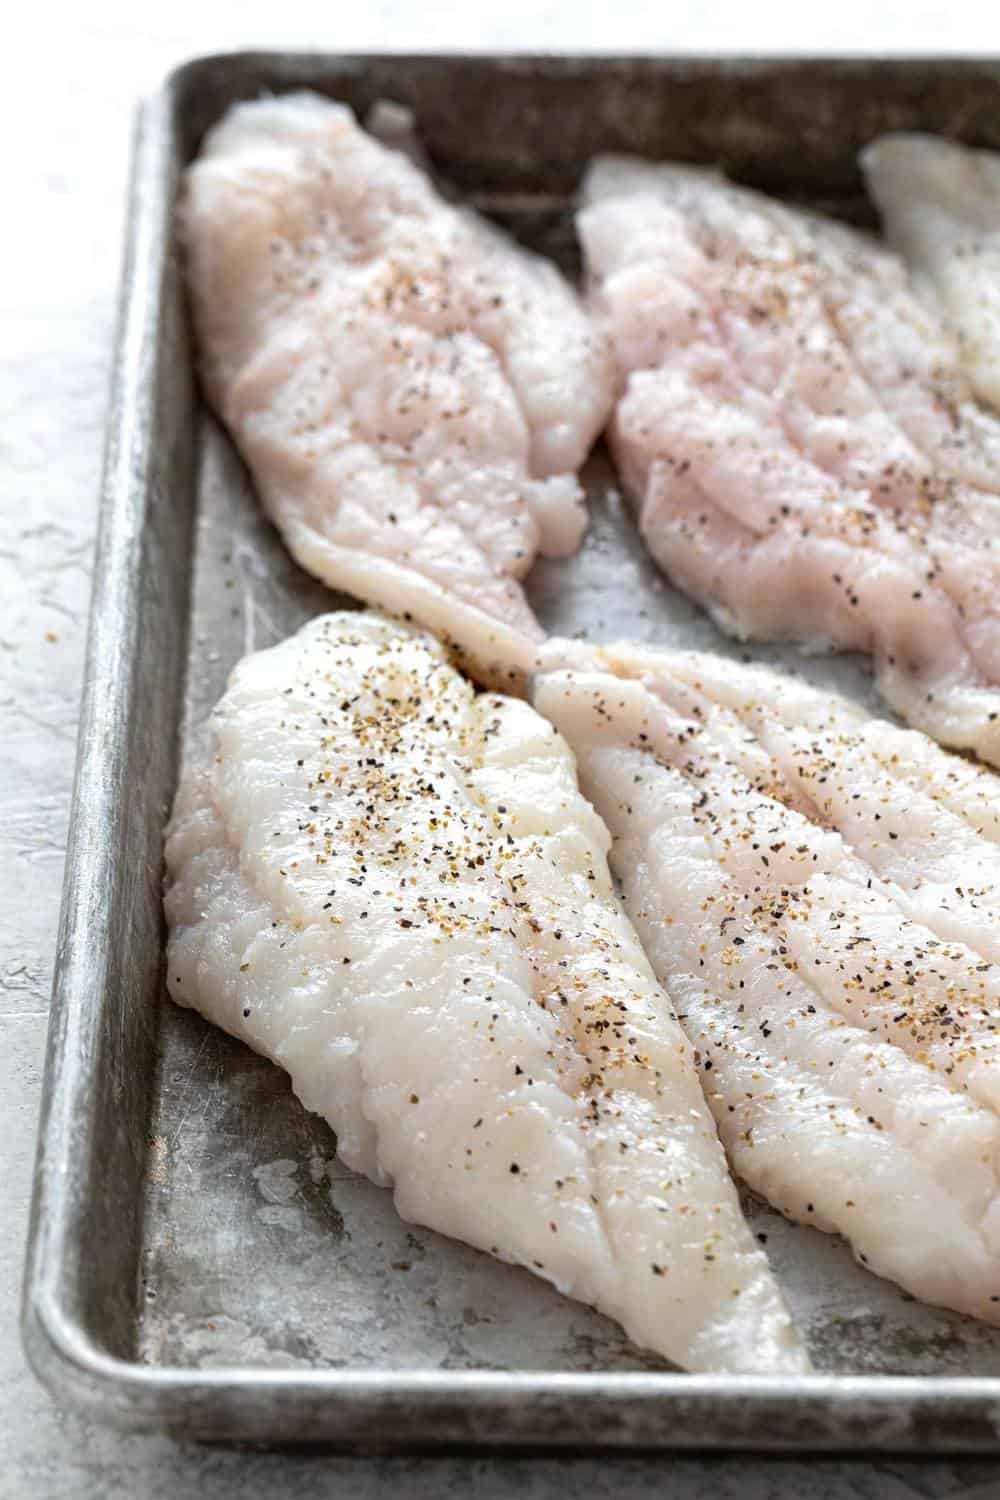
seasoned fillets of fish in a pan

How to Fry Catfish

  • Season the catfish fillets with salt and pepper.
  • Combine cornmeal, flour, garlic powder, salt, pepper, and cayenne.
  • Dredge the fish in the cornmeal coating. 
  • Heat vegetable in a cast iron skillet until it reaches 350ºF. 
  • Fry the fish in batches until golden brown on each side. 

Preparing the Fish

Catfish comes in large fillets, about 6 to 8 ounces per piece. I like to cut them in half so that each piece cooks more evenly and faster. Once the fish is cut in half, I season with salt and pepper. The fish doesn’t need to be dried before. You want a little bit of moisture for the coating to stick to.
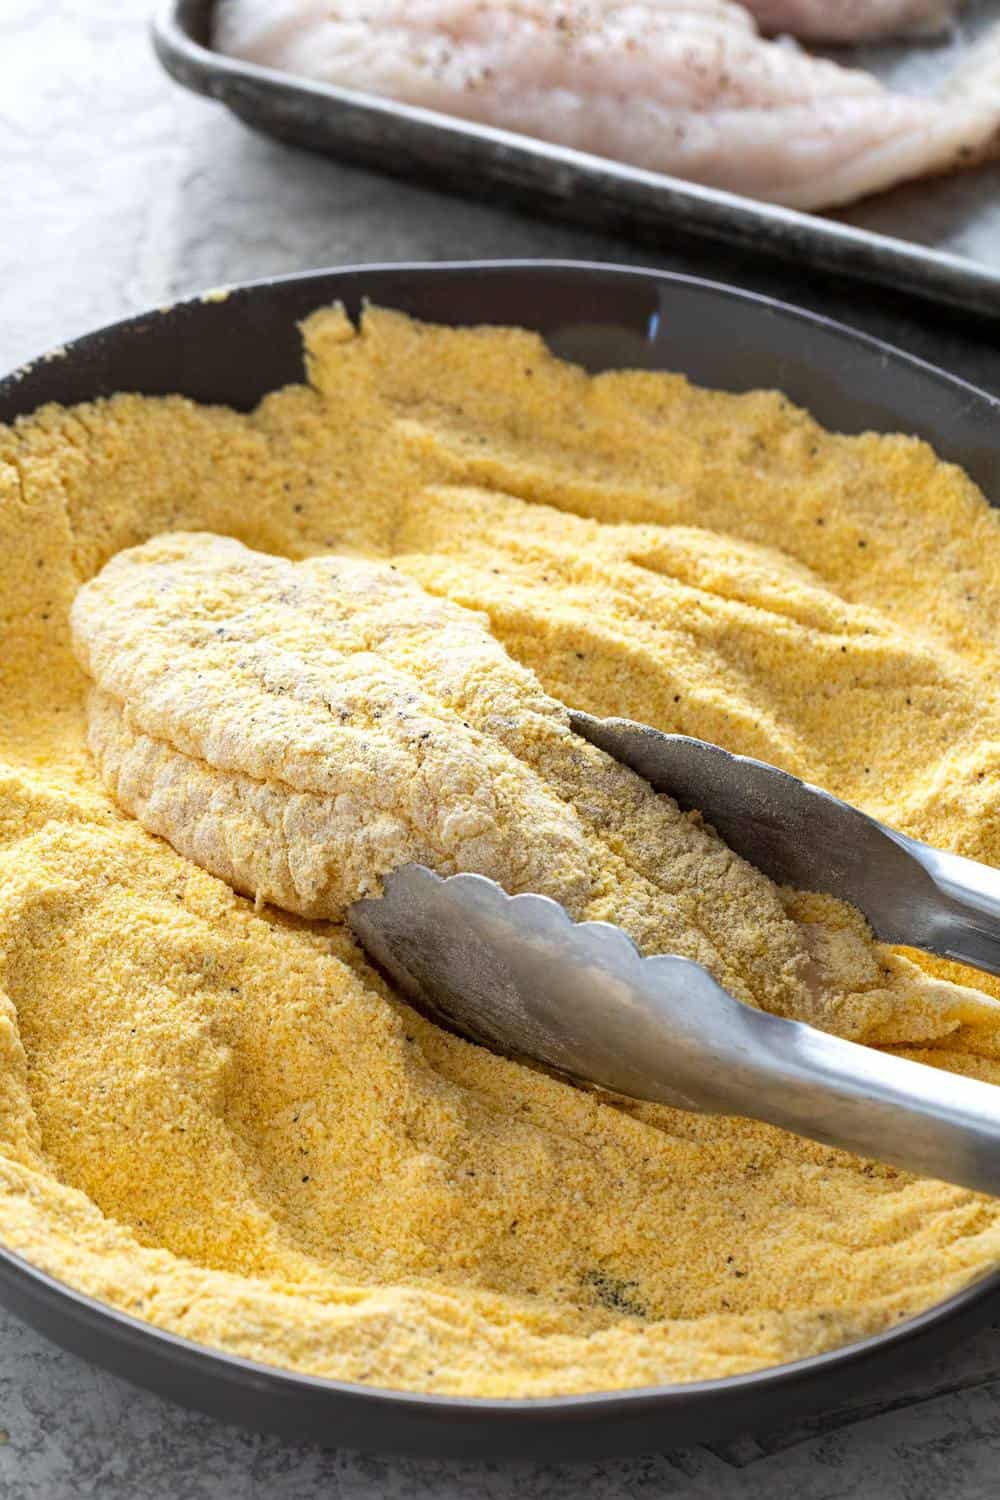
dredging catfish in flour

Making a Crunchy Coating

A light coating is added to the exterior of the fillets. I use a combination of yellow cornmeal and a small amount of flour to help it stick. The ground dried cornmeal adds the perfect amount of crunch to the fish without being overpowering. Salt, pepper, garlic powder, and a little bit of spicy cayenne powder and a nice savory flavor. Make sure to completely dredge the surface for complete pieces.

How Long to Fry Catfish

Use a large skillet like cast iron or nonstick to fry the fish. Use a high smoke point oil like vegetable oil because you will be frying between 350 to 360ºF. You want to add just enough oil to come up to at least halfway up the fish’s sides, about 1-inch high. The moderate temperature will ensure that the fish cooks through, and the crust gets golden and crisp. It only takes about 3 to 4 minutes per side.
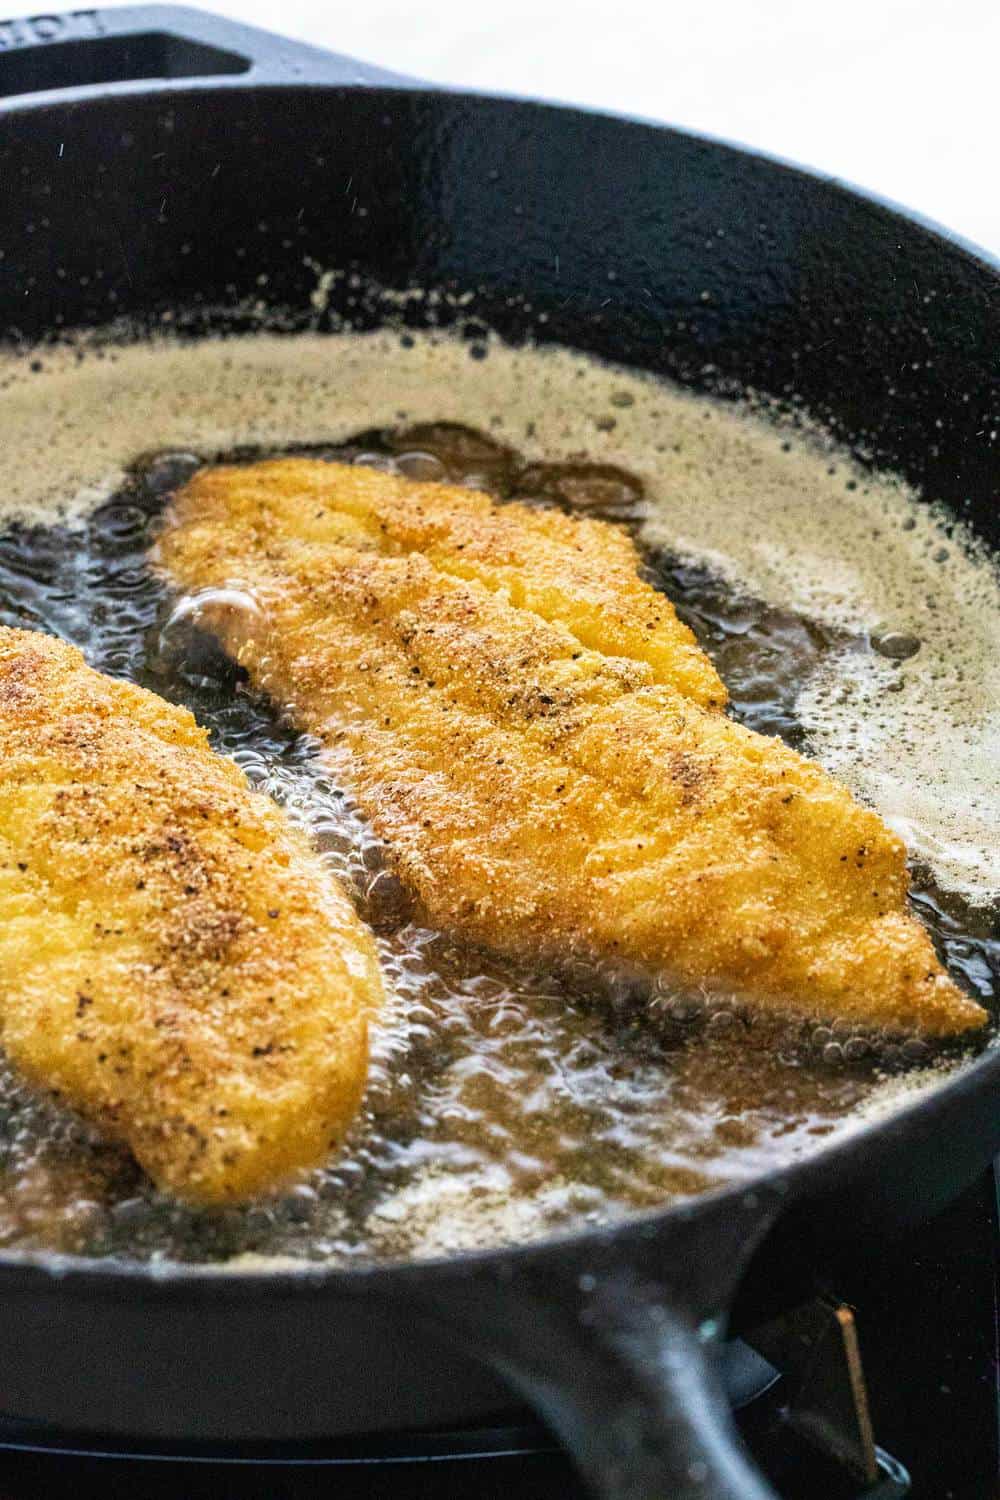
frying fish in a cast iron skillet

What to Serve with the Catfish

I like to serve lemon wedges, tartar sauce, and hot sauce with the fried fish. Collard greens, candied yams, cornbread, or mashed potatoes are excellent side dishes to add to make it a complete meal. 
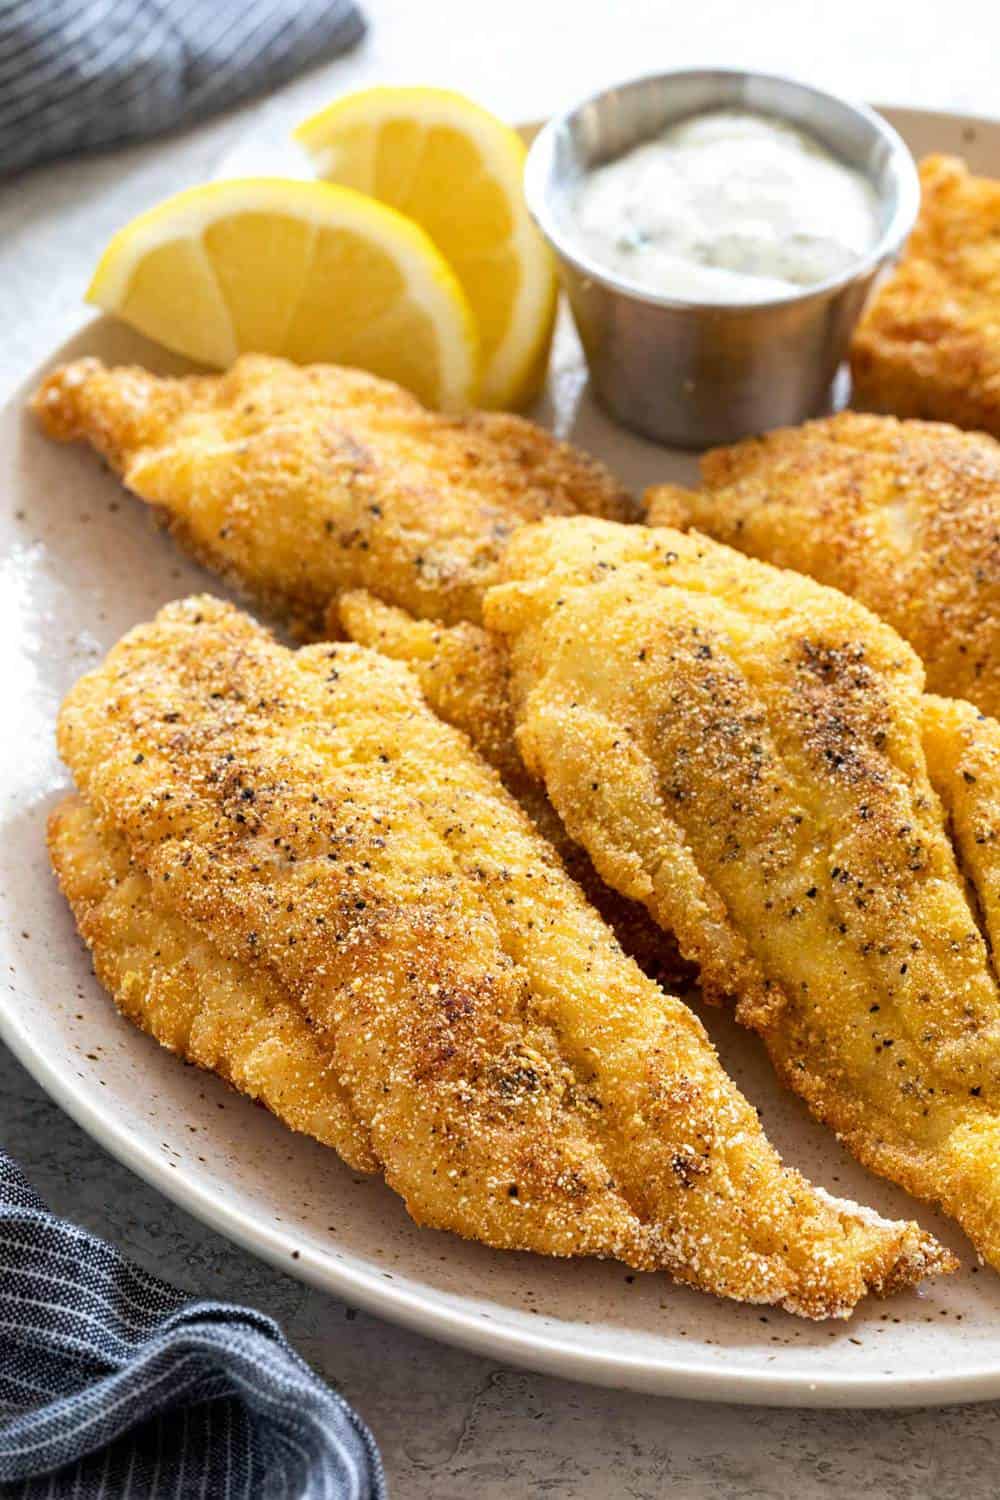
fried catfish on a plate

More Tasty Seafood Recipes

Print

Fried Catfish

Fried catfish is a delicious quick to prepare main seafood dish. The seasoned cornmeal coating creates a golden crispy crust.
Course Dinner
Cuisine American
Keyword fried catfish, fried catfish recipe
Prep Time 10 minutes
Cook Time 20 minutes
Total Time 30 minutes
Servings 6 servings
Calories 333kcal
Author Jessica Gavin

Ingredients

  • 2 cups yellow cornmeal
  • ¼ cup all-purpose flour
  • 1 teaspoon garlic powder
  • 1 teaspoon kosher salt
  • ½ teaspoon black pepper
  • ¼ teaspoon cayenne pepper
  • Vegetable oil as needed for frying
  • 1 ½ pounds catfish fillets 3 large fillets, cut into 6 smaller pieces

Instructions

  • In a shallow bowl whisk together corneal, flour, garlic powder, salt, black pepper, and cayenne pepper.
  • Season both sides of the catfish with salt and pepper. Dredge both sides in the cornmeal mixture.
  • Add enough vegetable oil in a large nonstick pan or cast iron skillet to reach ¾ to 1-inches in depth. Heat over medium heat until temperature reaches 350 to 360ºF (177 to 182ºC). Check the temperature between each batch and adjust the heat as needed to maintain this range.
  • Add two pieces of fish at a time to the pan, fry until golden brown and crispy on both sides, about 3 to 4 minutes per side, and internal temperature reaches 145 °F (63°C). Transfer to a paper towel-lined pan to drain—Fry the remaining pieces of fish.
  • Serve with lemon wedges and tartar sauce.

Nutrition

Calories: 333kcal | Carbohydrates: 43g | Protein: 24g | Fat: 6g | Saturated Fat: 1g | Cholesterol: 66mg | Sodium: 439mg | Potassium: 583mg | Fiber: 5g | Sugar: 1g | Vitamin A: 91IU | Vitamin C: 1mg | Calcium: 19mg | Iron: 2mg


from The Recipe Critic https://ift.tt/3oGNPZG
https://ift.tt/2TF733y
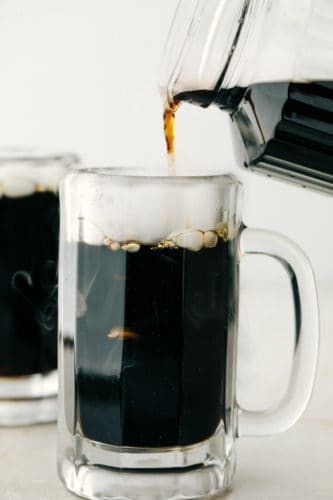
Delicious Homemade Root Beer Recipe (Ready in 15 minutes!)

This Homemade Root Beer is a fun, sweet, refreshing treat to make any occasion extra special. It takes just 4 ingredients to create a little magic and a whole lot of tasty fun! I have two ways to make this luscious drink!

I love to serve this at Halloween time, the dry ice gives it such a spooky flare. But serve this with Philly Cheese Steak Sloppy Joes, Homemade Sweet Potato Fries and Perfect Apple Pie for an all American dinner.

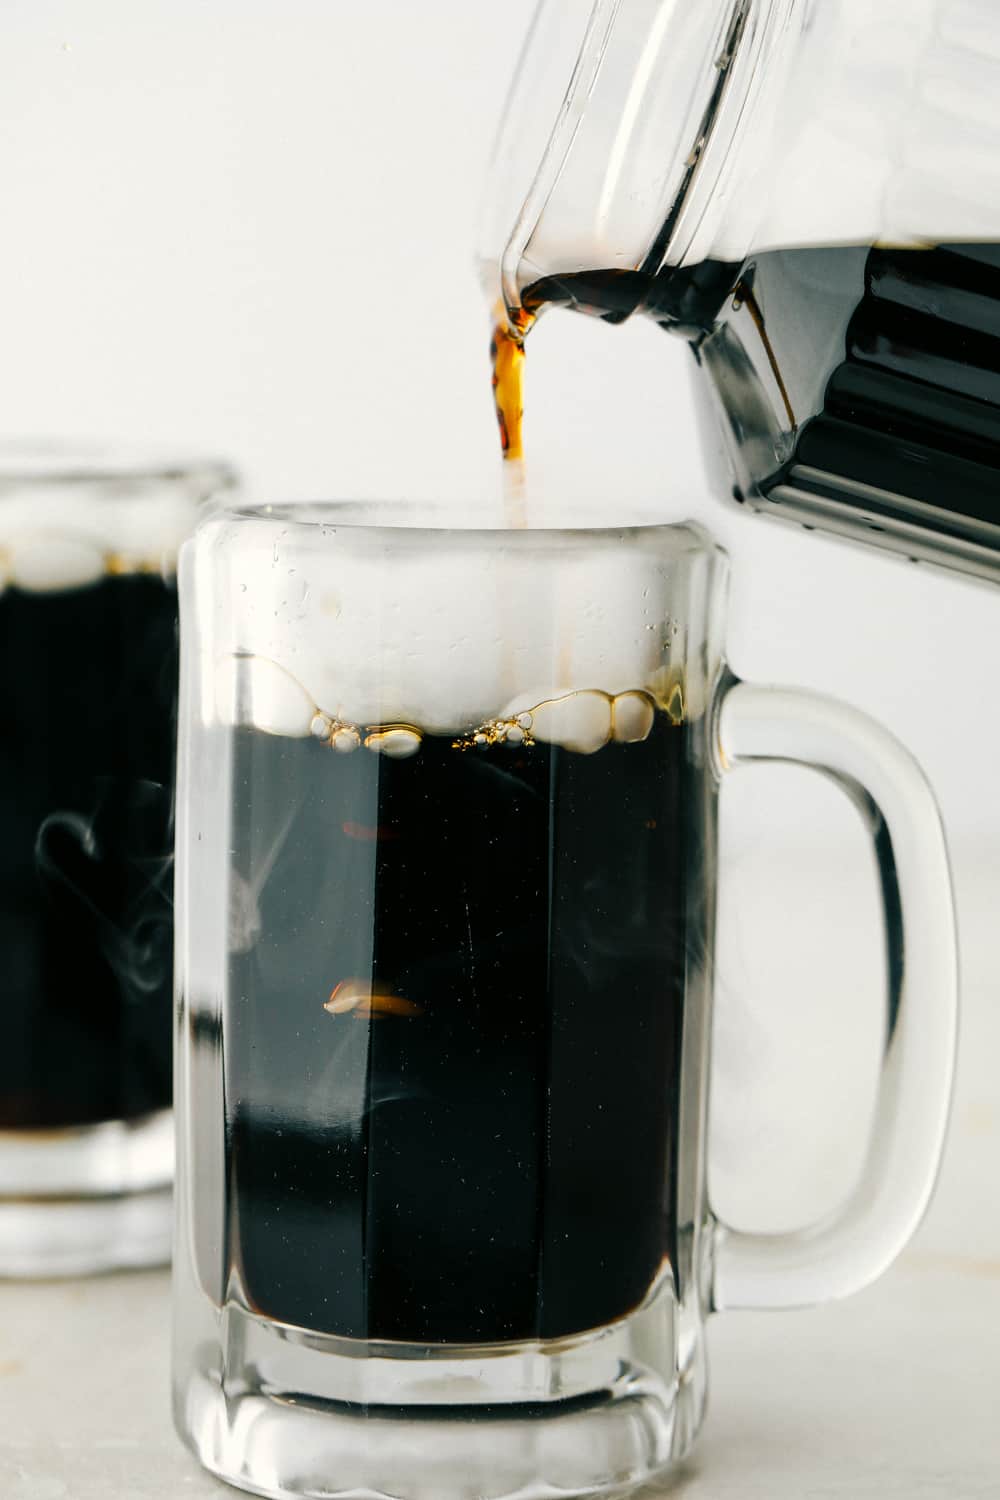
Homemade Root Beer in a frosty mug.

The Best Homemade Root Beer

Who knew you could make your own Root Beer and that it could be so fun. Family and friends will gather quickly around to see what all the fog is about. It’s fun and exciting and brings an extra special flare to any occasion. It’s rather simple to make and tastes fantastic. The hardest part will be the wait!

If you can’t find Dry Ice I’ve included a non dry ice variation. It does take up to 4 days to make however, so plan ahead. Feel free to double the batch for a huge party. I promise it won’t go to waste. it’s just too good and just that much fun!

Old Fashioned Homemade Root Beer Ingredients

Dry ice is so fun to use in this recipe, it creates the bubbly and a little bit of atmosphere too. Serve up this refreshing beverage everyone will enjoy at any event!

  • Cold Water: Even room temp water is ok, as you’ll see in my tips below
  • Sugar: Adds the needed sweetness
  • Root Beer Extract: Flavor and color make this even better. I used Hires Big H Root Beef Extract for this recipe.
  • Dry Ice: Dry ice provides the fun and bubbles

How to Make Root Beer from Scratch

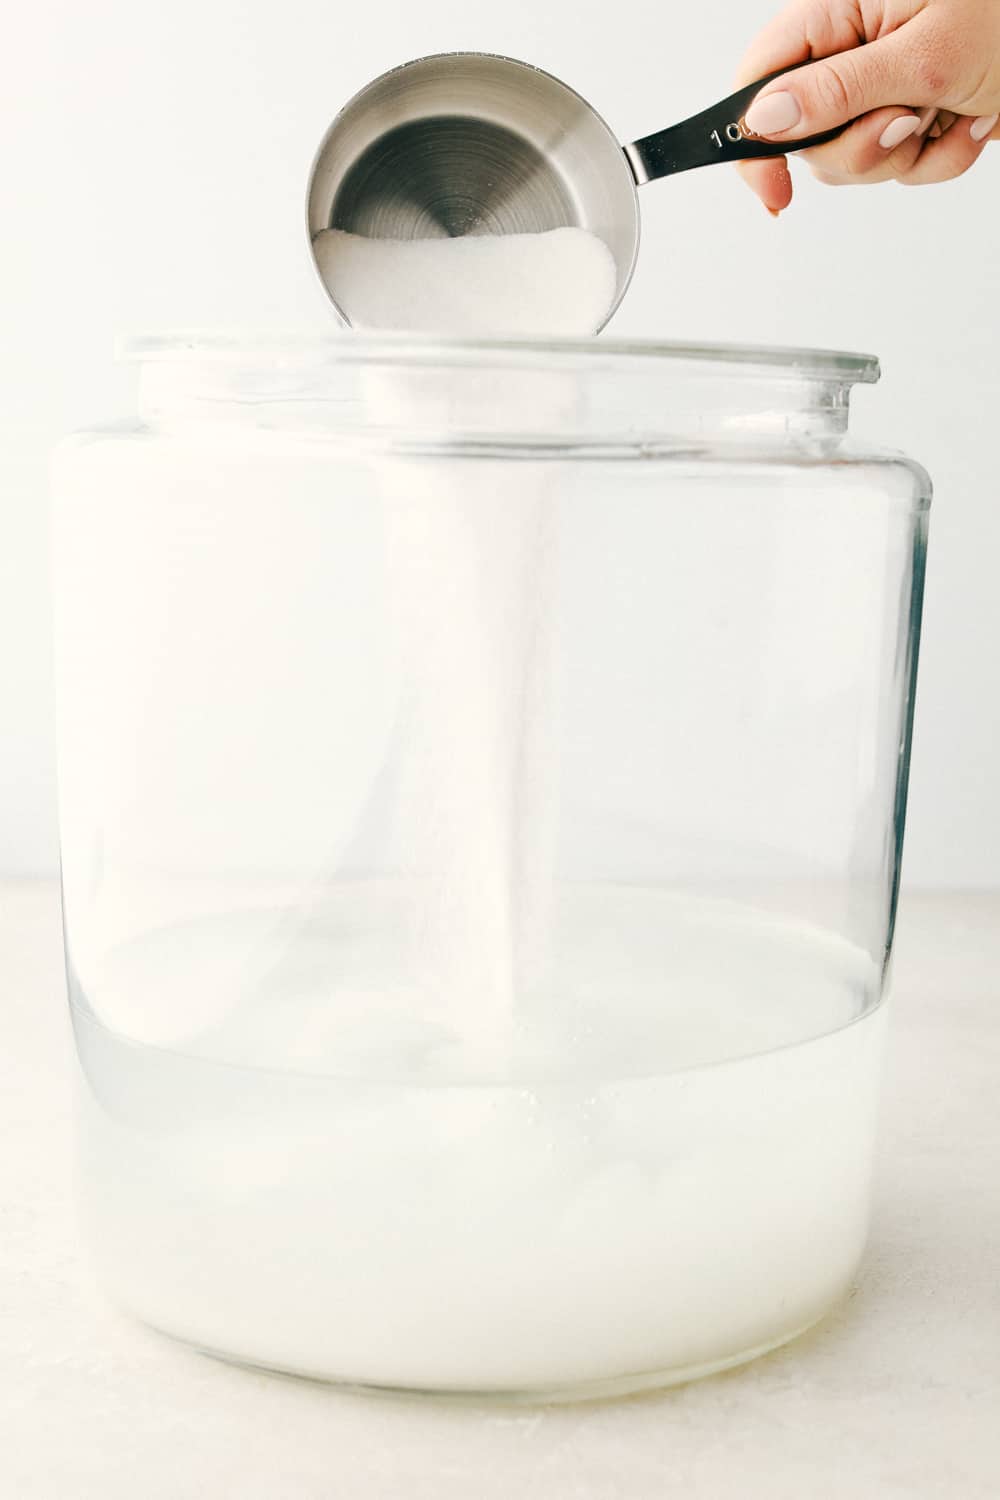
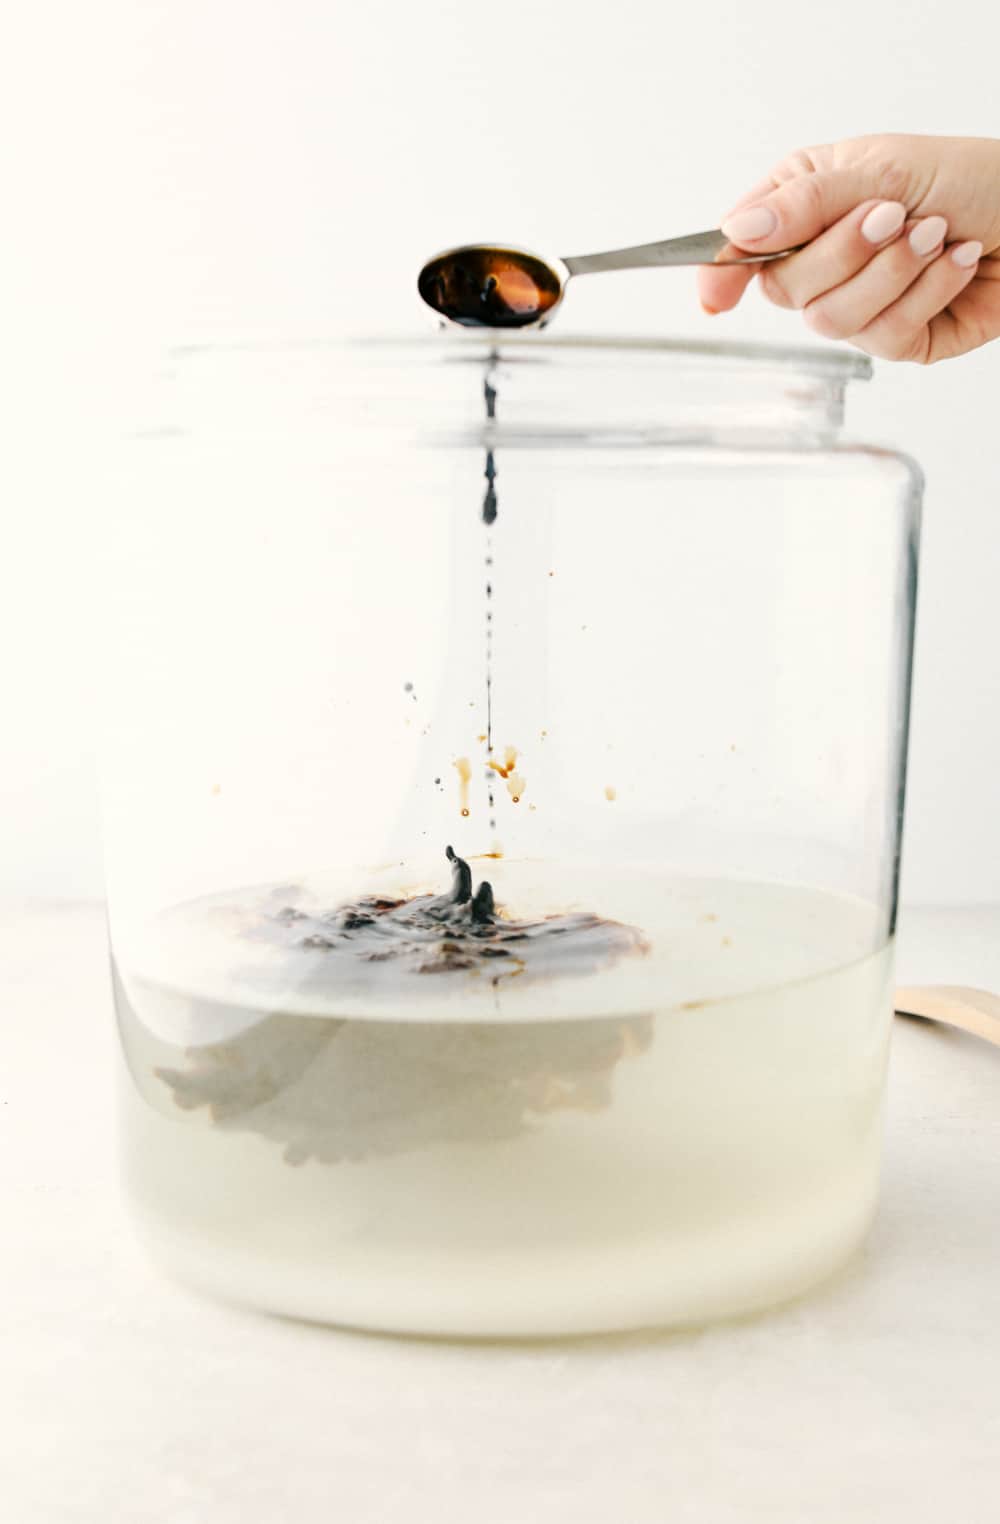
  1. Mix: In a large container mix the cold water and sugar and stir till dissolved. Add the Root Beer Extract.
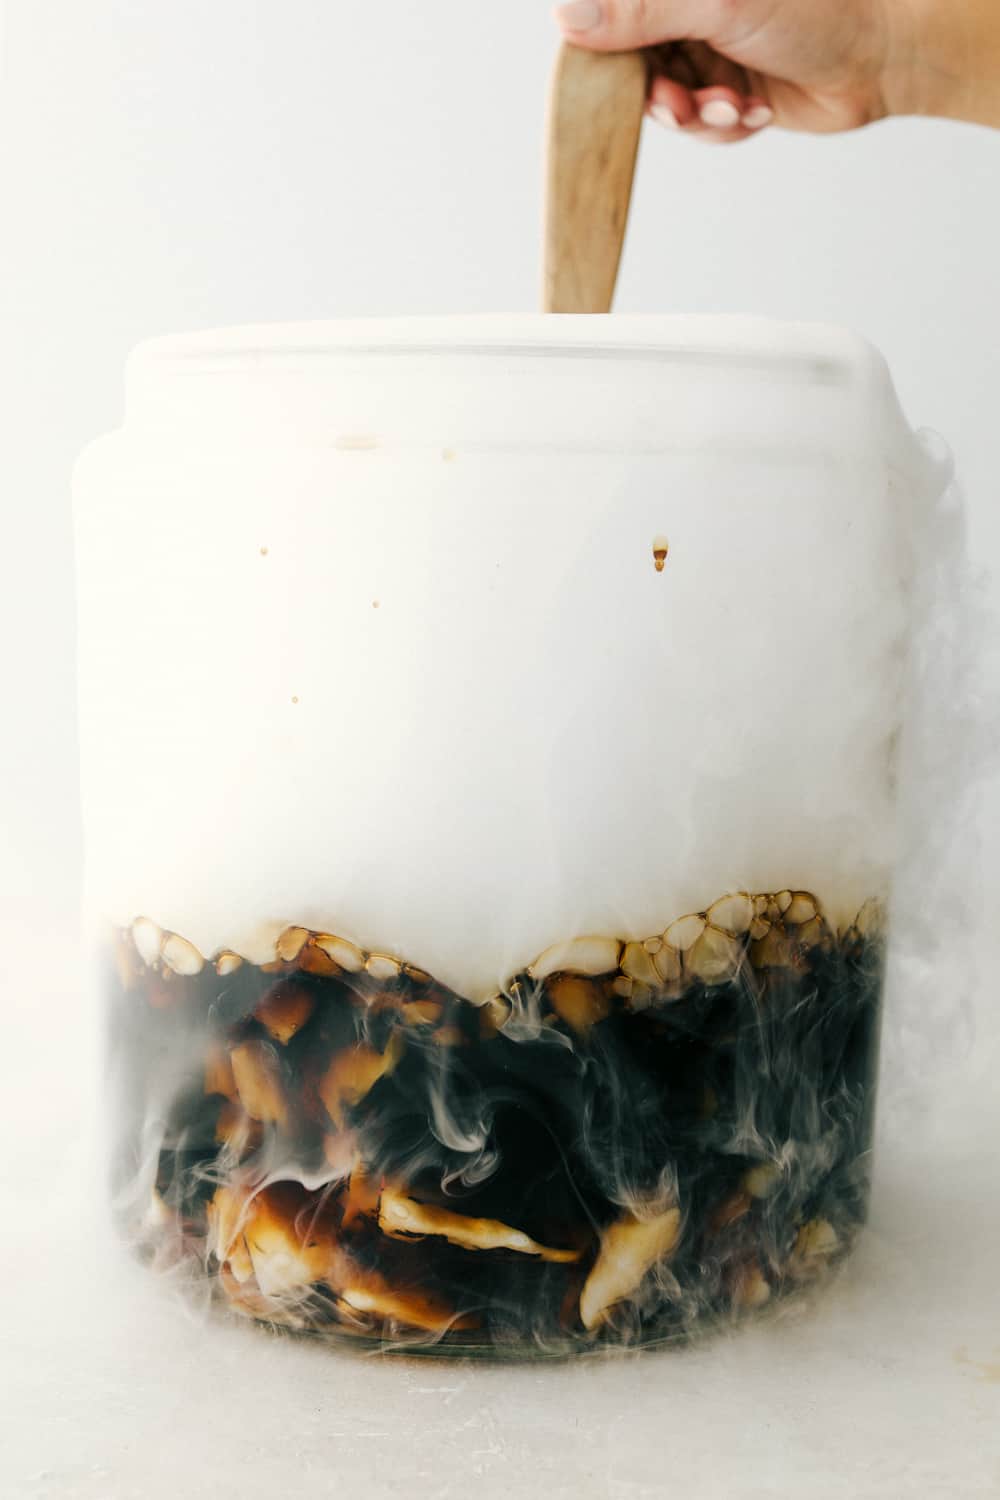
  2. Dry Ice: Add the dry ice and stir frequently to prevent the ice from clumping. Serve once Dry Ice is dissolved.

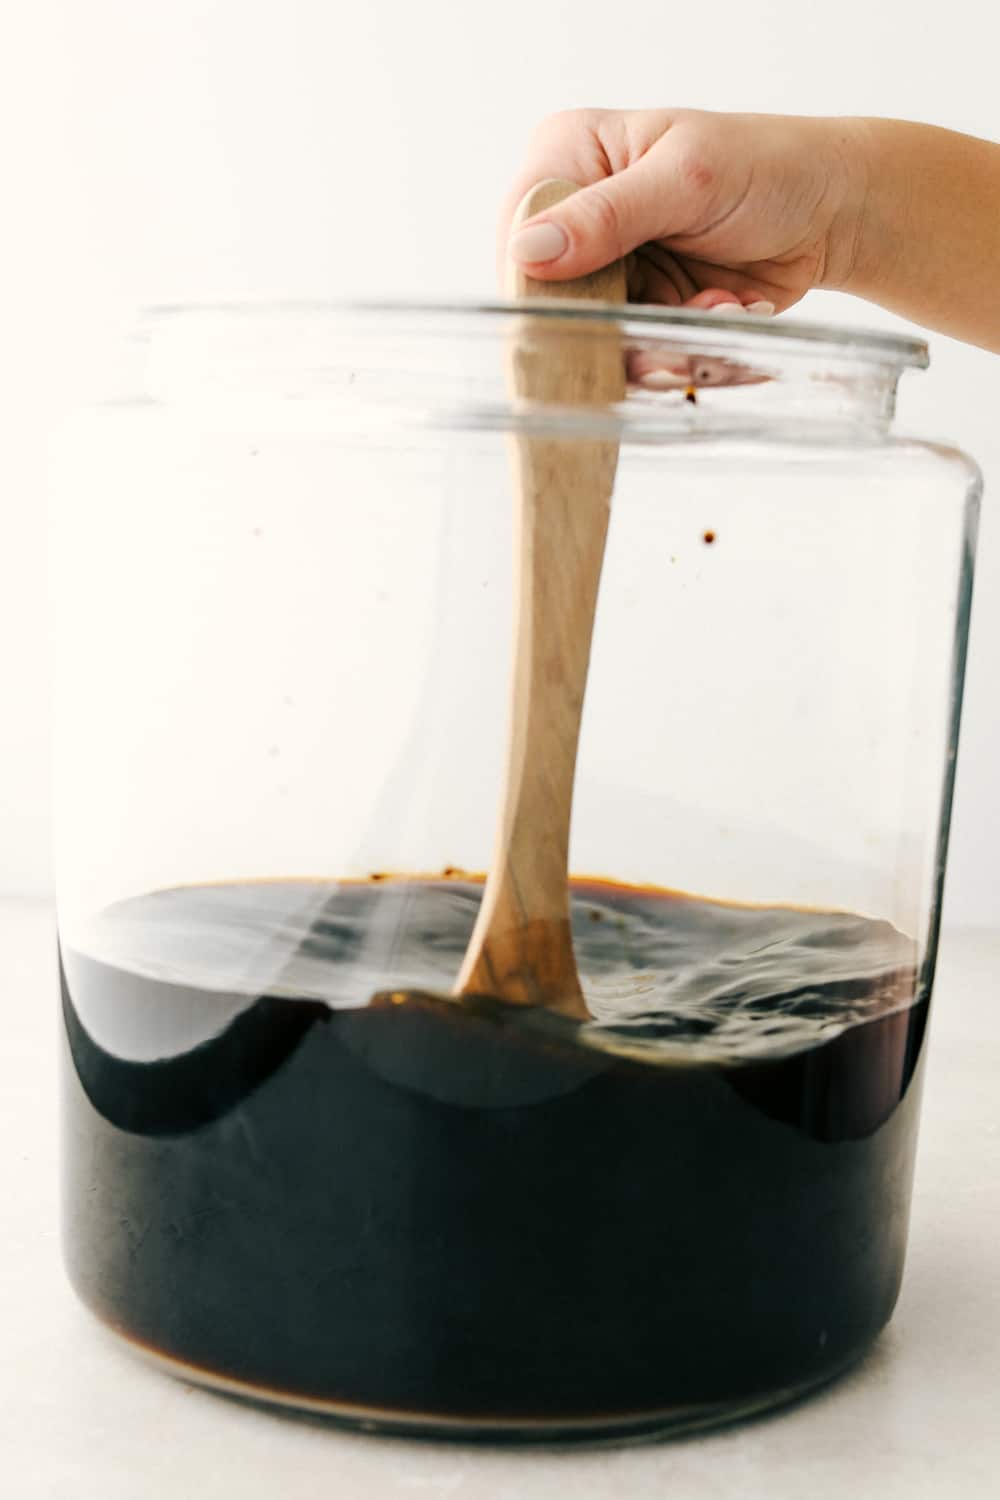
Mixing up sugar and water.

Making Yeast Carbonated Root Beer

Don’t have Dry Ice locally? Try this method. It takes time but has excellent results.

  1. Mix:  Add Sugar and the Root Beer Extract to 11 cups of warm water.
  2. Yeast:  Add one Tablespoon of yeast to a separate cup of warm water and stir.
  3. Stir: Stir the yeast mixture with the sugar mixture.
  4. Pour: Place into clean bottles leaving an inch of space. Let them sit at room temp for four days.
  5. Fridge: After four days place them in the fridge till ready to use.

Adding in Root Beer extract to the sugar mixture.

Root Beer Extract Vs Root Beer Concentrate

Just so you aren’t surprised by your flavor or lack of, double check what you buy. Either will work for your Homemade Root beer, but they are different.

  • Root Beer Extract (What this recipe calls for) Extract has a milder flavor so you need more to get that flavor. You can always add extra if you feel it needs it too.
  • Root Beer Concentrate: If this is what you have make note is much stronger than extract so you’ll need less. For this recipe you would need only 3 teaspoons of concentrate for 12 cups of water.

Stirring up the mixture till dissolved.

Dry Ice 101

When making Homemade Root Beer, dry ice is a must. It creates that smokey exciting atmosphere and bubbles. There are a few things to remember when working with it however.

  • Where to find: To save yourself trouble and frustration, call your local stores to see if they carry it. You’ll be surprised that many do. Warehouse stores such as Sam’s Club and Costco often carry it as well as Walmart and Krogers if you have them in your area.
  • Storing: Dry ice evaporates quickly. Do not buy days before you need it. Buy it the day you plan on making your Root Beer.
    Keeping it:  Never completely cover a container with dry ice. For this reason don’t keep it in a shut freezer either. Place in a cooler or styrofoam cooler with a towel over it. Keep it as cool as possible to help it last longer.
  • Break it: If it needs to be broken up, place in a brown paper bag and hit it with a hammer or mallet outside.
  • Burns: Never touch dry ice with your bare hands and keep it away from children. It can cause severe burns immediately. Wear gloves and use tongs when handling.
  • Inhale: Do not inhale the smoke from dry ice, in fact this should be made in a well ventilated area or outside so the carbon monoxide doesn’t build up.
  • Drink: Never drink or swallow dry ice. Wait till the ice has melted before drinking or ladel out only the rootbeer without the ice.
  • Fog: To get the best fog for your homemade root beer use in tepid temperature water.
  • Carbonation: Dry ice will actually not add a ton of carbonation. If you want more use sparkling or soda water for best results for perfect Homemade Root beer.

Adding the dry ice and stirring the Root Beer.

More Lushious Drink Recipes to Try

Drink it up!

Print

Homemade Root Beer

This Homemade Root Beer is a fun, sweet, refreshing treat to make any occasion extra special. It takes just 4 ingredients to create a little magic and a whole lot of tasty fun!  
Course Beverage, Drinks
Cuisine American
Keyword Homemade root beer, Homemade root beer recipe, root beer
Prep Time 10 minutes
Total Time 10 minutes
Servings 8 People
Calories 242kcal
Author Alyssa Rivers

Ingredients

  • 12 cups cold water
  • 2 1/2 cups sugar
  • 2 Tablespoons Root Beer Extract
  • 3 pounds Broken Dry Ice

Instructions

  • In a large container add the cold water, sugar, and root beer extract.
  • Mix together until sugar starts to dissolve.
  • Add the dry ice to the mixture and stir frequently to prevent the dry ice from clumping.
  • Continue to stir until the dry ice has dissolved.

Notes

To make Yeast Carbonated Root Beer:
Add the sugar and the root beer extract to 11 cups warm water.  Add 1 cup of warm water to 1 Tablespoon of yeast.  Add the contents together and mix thoroughly.  Pour the mixture  into clean bottles leaving an inch of space.  Let them sit at room temperature for four days. After four days place them in the fridge until they are used. 


Nutrition

Calories: 242kcal | Carbohydrates: 62g | Sodium: 1mg | Sugar: 62g | Iron: 1mg


from The Recipe Critic https://ift.tt/3kH5ii6
https://ift.tt/31Xtllv

गुरुवार, 29 अक्तूबर 2020

Mummy Hot Dogs

Nothing screams fun, quite like Mummy Hot Dogs for Halloween dinner. Serve these fun little vittles before trick or treating or at your next Halloween party!

Looking for more spooky options to serve with these, try Easy Mummy Mini Pizzas and Mummy Cookie Bites. These are all perfect Halloween treats!

Mummy Hot dogs on a plate with spider webb dip.

Halloween Mummy Hot Dogs

These are super easy to make and even more fun to eat! You will have to make sure you make enough, because these will go fast! But because they were so easy, you can always whip up more in a breeze.

These Mummy dogs are almost too cute to eat! What makes these great is that they are kid friendly to make. Let them help you wrap the hot dogs and put the eyes on. They’ll love it! These mummy dogs will be the hit of the party! They’re easy, quick and a fun finger food for young and old alike.

Crescent Roll Hot Dog Ingredients

Have fun making these hot dog crescent rolls. This dinner is so fun for Halloween and kids will totally approve!

  • Crescent Roll Dough: For best results use regular crescent rolls. Reduced fat dough is stickier and makes wrapping the hot dogs difficult.
  • Hot Dogs: Use your favorite kind of hot dogs

How to Make Mummy Hot Dogs Recipe

These are so simple to make and come together quickly. Each mummy dog is going to be unique and fun looking!

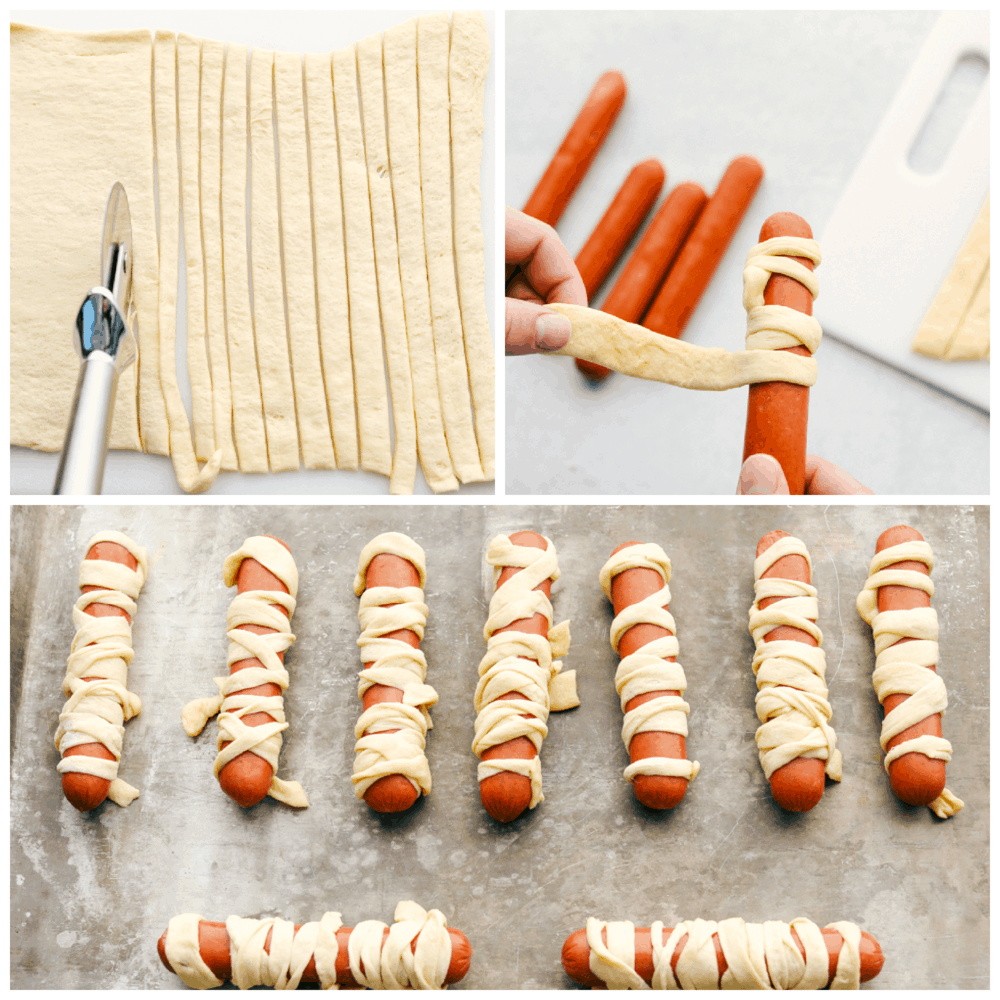
  1. Prep: Preheat the oven to 375 degrees. Spray a baking sheet with cooking spray and set aside. Open the crescent dough and press seams together. Using a pizza cutter, cut 1/4 strips.
  2. Create: Wrap each hot dog creating a bandage look leaving gaps and overlapping the dough. Create a crisscross pattern until the entire hot dog is wrapped.
  3. Bake: Place each mummy dog on the baking sheet and bake for 10-12 minutes. Using ketchup or mustard you can create little eyes for the mummies.

The process of cutting out, wrapping and forming the mummy dogs.

Halloween Mummy Hot Dog Tips

Create a fun, spooky and even scary mummy hot dog with these tips. Anything you do will be a fun surprise for Halloween!

  • Eyes: If you don’t have candy eyes handy you can draw eyes on by adding a a couple of dots of ketchup or mustard to the mummy dogs where the eyes would go.
  • Make it Stick: Press dough at perforations to seal.
  • Mini: Use little smokies and wrap the same way to make baby mummies.
  • Big Guys: Used smoked sausages for bigger beefier ones.
  • Cheese: Place a hot dog sized slice on cheese on the back of the hot dog and wrap with the crescent dough.
  • Butter: Brush the dough with melted butter before placing in the oven for an even buttery flakey finish.

Cooked mummy hot dogs on a pan with eyes.

Spooky Spider Web Sauce

With a little bit of ketchup and mustard you make a fun spooky spider web sauce for dipping. It’s super festive and so easy to prepare. Super easy and the kids love to dip the mummy  hot dogs into it!

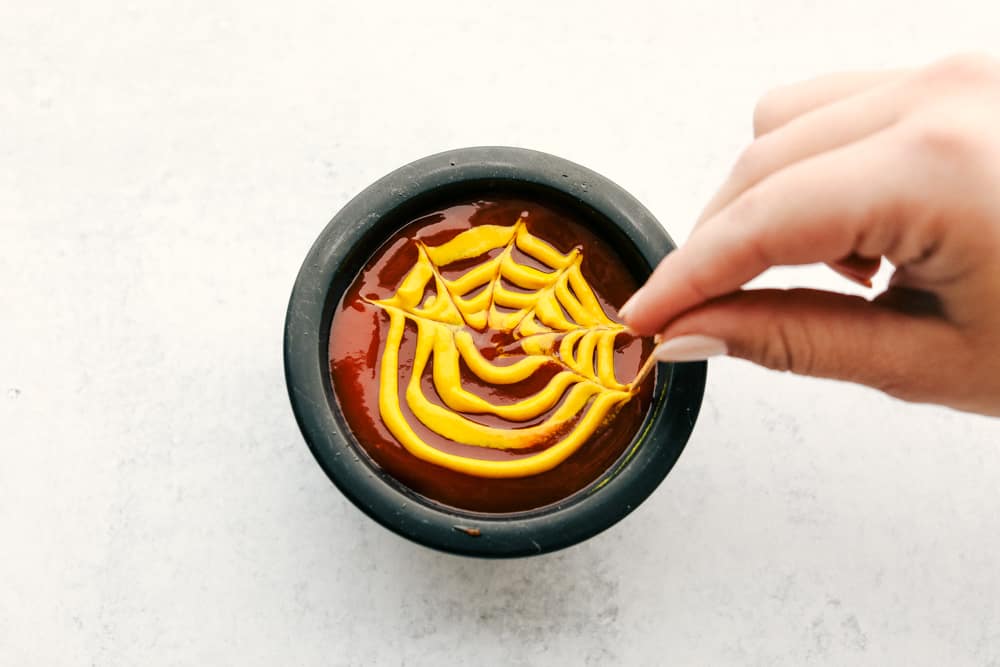
  1. Place ketchup in a small bowl.
  2. With the mustard draw a few circles.
  3. Use a toothpick to drag out the circles into a web design.

Making Spider Web dipping sauce.

Make Ahead of Time

One of the best parts about this recipe is that you make them ahead of time. Wrap the hot dogs with the dough and then store in an airtight container in the fridge till ready to bake. When ready, pop those mummy hot dogs in the oven.

Dipping a mummy dog into spider web sauce.

More Quick and Easy Recipes Made with Crescent Dough

Having a short cut to make your dishes quick and easy is always convenient!

Print

Mummy Hot Dogs

Nothing screams fun, quite like Mummy Hot Dogs for Halloween dinner. Serve these fun little vittles before trick or treating or at your next Halloween party.
Course Dinner, Main Course
Cuisine American
Keyword halloween mummy hot dogs, mummy hot dogs
Prep Time 5 minutes
Cook Time 12 minutes
Total Time 17 minutes
Servings 8 Hot Dogs
Calories 112kcal
Author Alyssa Rivers

Ingredients

  • 1 8 ounce package crescent roll dough
  • 8 hot dogs

Instructions

  • Preheat the oven to 375 degrees. Spray a baking sheet with cooking spray and set aside. Open the crescent dough and press seams together. Using a pizza cutter, cut 1/4 strips.
  • Wrap each hot dog creating a bandage look leaving gaps and overlapping the dough. Create a criss cross pattern until the entire hot dog is wrapped.
  • Place each mummy dog on the baking sheet and bake for 10-12 minutes. Using ketchup or mustard you can create little eyes for the mummies.

Nutrition

Calories: 112kcal | Carbohydrates: 8g | Protein: 5g | Fat: 7g | Saturated Fat: 2g | Cholesterol: 20mg | Sodium: 309mg | Potassium: 66mg | Sugar: 1g | Calcium: 11mg | Iron: 1mg


from The Recipe Critic https://ift.tt/2TzvYoX
https://ift.tt/2JiAtm4

बुधवार, 28 अक्तूबर 2020

Tender and Juicy Air Fryer Chicken

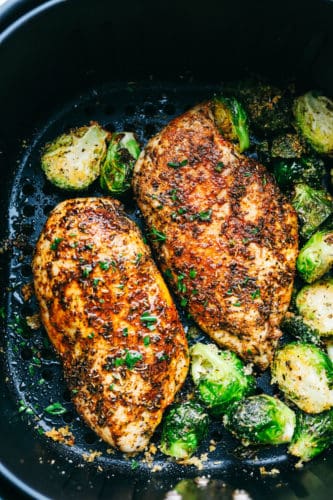
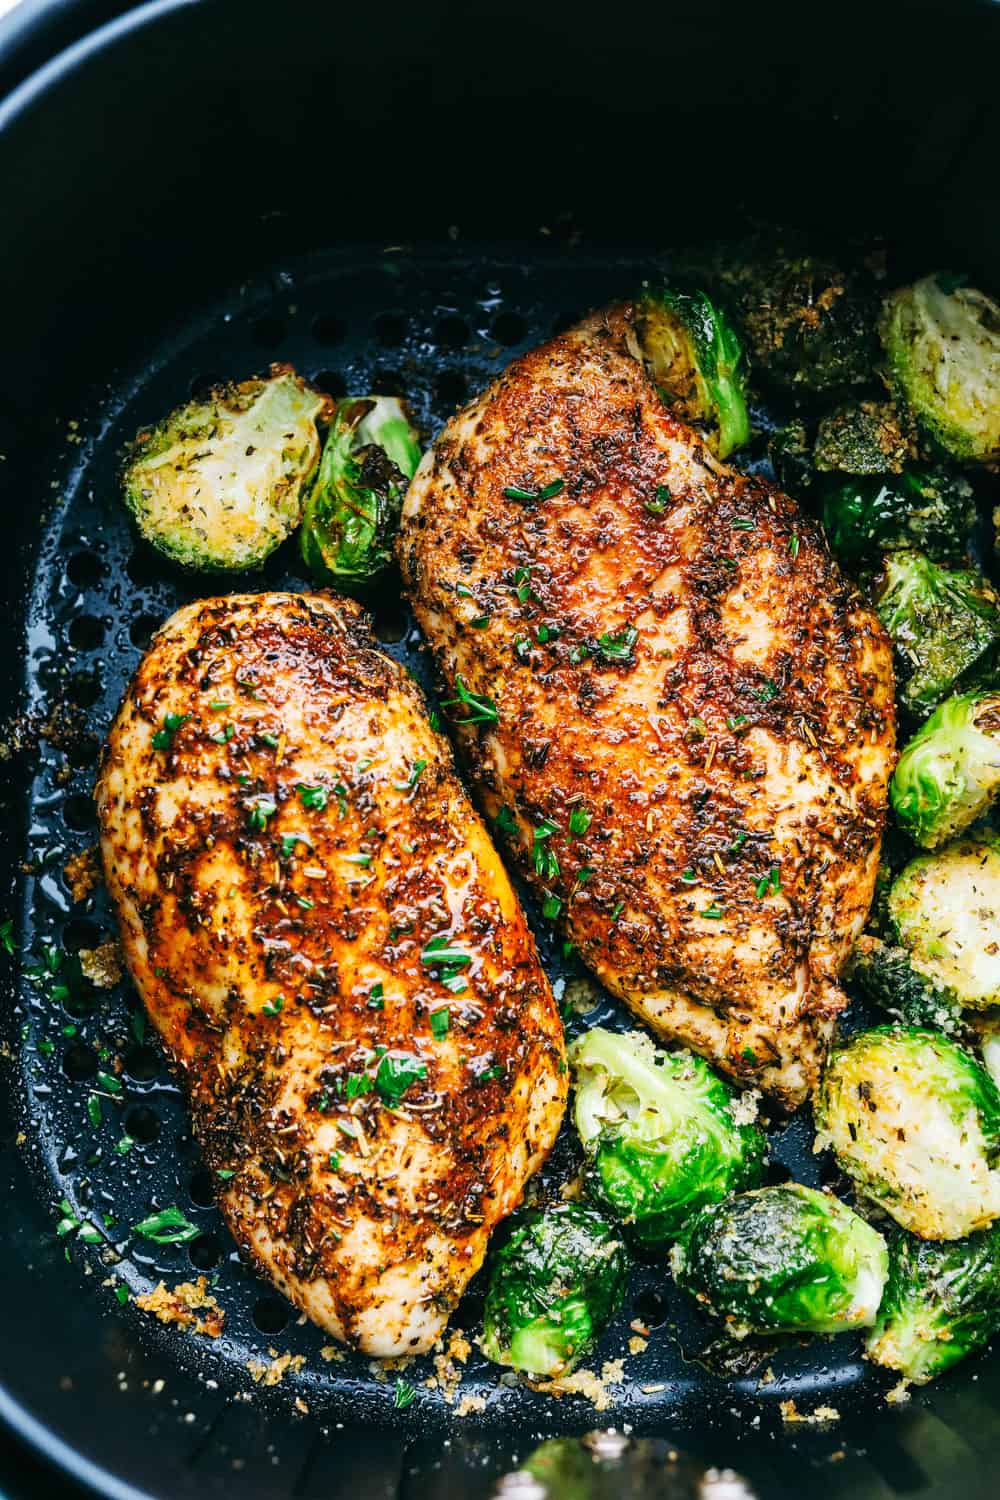
Tender and Juicy Air Fryer Chicken is golden crispy outside and moist and delicate on the inside. This is bursting with flavor and so good!

Air Fryer food is so succulent and easy! Try Perfect Air Fryer Steak with Garlic Herb Butter and Homemade Air Fryer French Fries. Don’t have an Air Fryer? It’s time!

Tender Juicy Chicken Breasts in an Air Fryer

Air Fryer Chicken Breast Recipe

Air Fryers have changed cooking. It’s so quick and easy and everything that comes out tastes amazing. I love it. This is such a healthy way to cook chicken or any other dish for that matter. It uses the same method as a convection oven but this way you don’t have to heat the whole oven for just a few chicken breasts. It’s quick and the clean up is so easy.

Chicken can be finicky sometimes, and hard to get juicy and tender each and every time. The air fryer method takes a lot of the guess work out for you. You will just need to take the Chickens temperature to ensure doneness, and that you don’t overcook it.  This is so versatile so change it up as you need to and enjoy.

Chicken Breast Ingredients

Ingredients that we all usually have on hand. So easy and so quick!

  • Chicken Breasts: Buying skinless, boneless make it super easy.
  • Olive Oil: Perfect mild flavored oil for the air fryer
  • Italian Seasoning: Perfect combination of spices
  • Garlic Powder: Garlic adds that nice kick of flavor
  • Paprika: Adds color and flavor
  • Salt and Pepper: Add to taste
  • Optional: Brussel sprouts

How Long to Cook Chicken Breast in Air Fryer

You will make your chicken in the air fryer from now on. It’s so easy and fail proof. Never wonder what’s for dinner again!

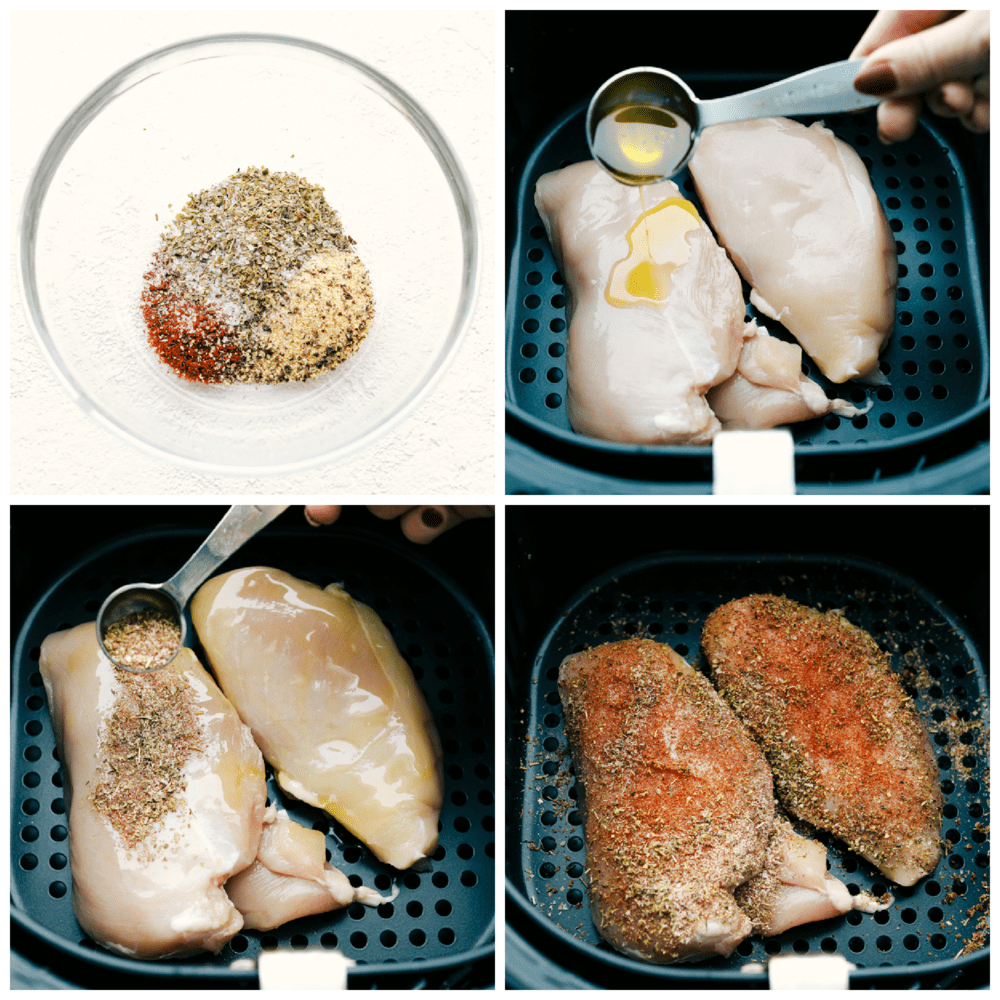
  1. Oil: Place the chicken in the fryer and rub with the olive oil to coat
  2. Combine: In a small bowl combine the spices and rub generously on the chicken
  3. Air Fry: Bake at 360 for 9 min. Flip (add brussel sprouts if using) Cook for another 9 min or till internal temp is 165.

Seasoning, oiling and baking tender juicy air fryer chicken

Tips for the Best Juicy Air Fryer Chicken

  • Olive Oil: This helps to crisp the skin and helps the spices and herbs to adhere to the meat.
  • Space: Make sure you create room between the chicken breasts to ensure even cooking. Don’t overcrowd. Cook in batches if you need to.
  • Check: Check the temp earlier than you think so you don’t accidently over cook the chicken. Appliances can vary so go by temperature of your chicken to ensure it’s done.
  • Rest: Let the Chicken rest before cutting into it. About 5 min at least. This allows the juices to reabsorb into the chicken instead of spilling onto your plate.
  • Spices: Mix it up depending on your menu. You can use Mexican spices, BBQ spices and sauce, Indian spices etc. Whatever your menu calls for this is a quick delicious way to cook your chicken.
  • Moist: Want to make sure your chicken is super moist and tender? Try marinating or brining your chicken for even greater juiciness and flavor.

How and Why do I Brine my Chicken Breasts?

  • Why: During brining the salt helps the meat to absorb extra liquid through the process of osmosis. Soaking the chicken in salted water, results in a juicier and more flavorful final dish, because the is able to hold on to more of it’s moisture. This is particularly great for lean cuts of meat, such as chicken breast and turkey breast that tend to dry out during cooking.
  • Formula: Basic brine ratio: The basic ratio of salt to water for a brine is 4 tablespoons of salt per 6 cups of water. But size of the salt crystal and type matter. Use Kosher salt because although it dissolves faster and easier in water, it’s slower to dissolve on the surface of meat so less sodium is absorbed by your meat.
  • How: Fill a large bowl with about 4 cups of lukewarm water and add 1/4 cup kosher salt, stirring to dissolve. Although this may sound like a lot of salt, only a small amount is absorbed. Add the chicken breasts to the water and let them sit at least 1 1/2 hours or up to 6 hours to brine. Remove from water, pat dry with paper towels and discard the water.
    • Continue with the recipe as directed rubbing with oil and spices then baking.

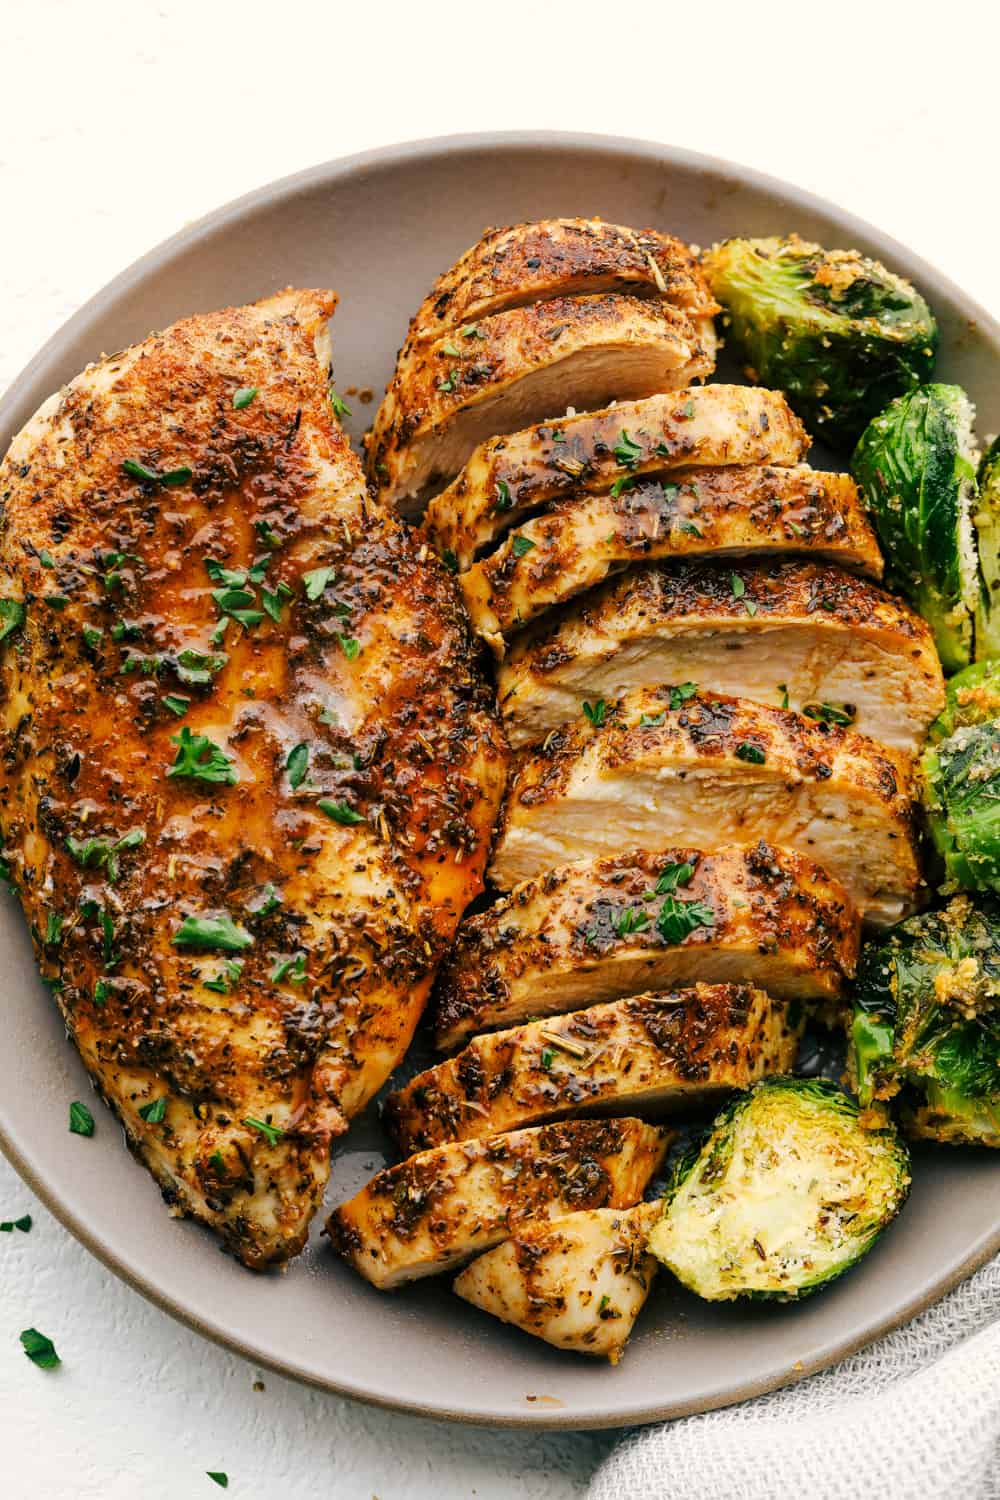
Tender Juicy Air Fryer Chicken with Brussel Sprouts

More Chicken Recipes to Try

Print

Tender and Juicy Air Fryer Chicken

Tender and Juicy Air Fryer Chicken is golden crispy outside and moist and delicate on the inside. This is bursting with flavor and so good! 
Course Dinner
Cuisine American
Keyword air fryer, air fryer chicken, air fryer chicken breast
Prep Time 5 minutes
Cook Time 18 minutes
Total Time 23 minutes
Servings 4 People
Calories 102kcal
Author Alyssa Rivers

Ingredients

  • 2 boneless skinless chicken breasts
  • 1 Tablespoons olive oil
  • 1 Tablespoon Italian seasoning
  • 1 teaspoon garlic powder
  • 1/2 teaspoon paprika
  • salt and pepper
  • optional: brussels sprouts

Instructions

  • Place the chicken in the air fryer basket. Rub olive oil on the chicken.
  • In a small bowl add the Italian seasoning, garlic powder, paprika, salt and pepper. Rub on each sides of the chicken.
  • Cook in the air fryer at 360 degrees for 9 minutes. Open the air fryer and flip the chicken. (Add Brussels sprouts now if using). Cook for another 9 minutes or until internal temperature reaches 165 degrees.

Nutrition

Calories: 102kcal | Carbohydrates: 2g | Protein: 12g | Fat: 5g | Saturated Fat: 1g | Cholesterol: 36mg | Sodium: 67mg | Potassium: 234mg | Fiber: 1g | Sugar: 1g | Vitamin A: 161IU | Vitamin C: 1mg | Calcium: 23mg | Iron: 1mg


from The Recipe Critic https://ift.tt/35p34xc
https://ift.tt/2FUyZ04