These super easy-baked coconut shrimp will deliver in a flavor so delicious they will be sure to be a favorite among all of your guests! They are golden and crispy and baked to perfection.
Baked coconut shrimp are delightful to pop into your mouth and eat plain or drizzle them with a delicious sauce and impress your guests with your baking skills. Try them dipped them in a store-bought sweet chili sauce, our yum yum sauce or make an array of appetizers including cream cheese wontons and our insanely delicious crab dip!

Why You’ll Love This Baked Coconut Shrimp
I love making baked versions of my favorite fried foods because you get all the flavor without all the added calories. This recipe is no exception and delivers all of the flavors of delicious shrimp as well as the crispy texture baked to perfection! Shrimp is such a versatile food that can be used as a main dish, an appetizer, or a side! This recipe allows creativity in what it’s served with and is a dish that will keep guests coming back for more!
This baked coconut shrimp is super super easy to make and even easier to eat! The shrimp is crispy and crunchy on the outside and tender on the inside. Using a mixture of panko breadcrumbs and coconut to coat the shrimp gives different textures and flavors to the dish. Baking the shrimp makes this a healthier option because you aren’t frying it in oil but it still retains all of the tasty flavor and texture. It’s the best of both worlds!

What do I need for Baked Coconut Shrimp?
You will have many of these ingredients on hand in your pantry and refrigerator. Once you have your shrimp, you will be all set to start baking! These are so delicious and come together so easily! See the recipe card below for full instructions and amounts.
- Large shrimp: Make sure that the shrimp is peeled with the tails left on and deveined.
- Eggs: Eggs create a sticky base for the breadcrumbs and coconut.
- Flaked coconut: Make sure that the coconut flakes are unsweetened.
- Panko breadcrumbs: These breadcrumbs will be the key ingredient in getting that crispy texture!
- All-purpose flour: This creates a base for all of the ingredients used to cover the shrimp.
- Garlic powder: This will give you a hint of garlic flavor that compliments the coconut!
- Paprika: Garnishing with paprika is optional but it will add a slight sweet pepper flavor, without any added heat.
- Salt: Adding the salt to the dish will help to bring out all of the other flavors.
- Black pepper: Freshly ground black pepper will give a slight hint of heat to the taste without making it too spicy or hot.

Instructions for Baked Coconut Shrimp
This is a restaurant-quality dish that you can easily make and put together at home! it doesn’t take a lot of time yet it looks and tastes like a million bucks! This tastes SO GOOD and you will be adding this as an appetizer any chance you get!
- Preparing: Pre-heat oven to 425F Grease a cookie sheet with oil and set aside.
- Coat the Shrimp: Beat eggs in a small bowl and set aside. Next, combine breadcrumbs and coconut in another bowl and set aside. Lastly, combine flour and spices in a 3rd bowl.
- Dip Shrimp: Next, dip shrimp in small batches in the flour mixture then the egg mixture. Once you are done, let the excess drip off the shrimp. Then coat in the coconut/breadcrumb mixture, pressing to adhere.
- Bake: Place the shrimp on the baking sheet in a single layer. Lightly spray with nonstick spray or drizzle with oil. After, place the shrimp in the oven and bake until they are golden on the outside and opaque in the center, about 10 minutes.

Tips for Perfectly Baked Coconut Shrimp
Shrimp seems like a dish that people can only get at a restaurant. This recipe makes it possible and EASY to make this in the comfort of your own home! Follow these tips to help out and you will come away with the knowledge and confidence to conquer any baking project to perfection!
- Frozen Shrimp: If starting with frozen shrimp, make sure to thaw before starting.
- Peeled and Deveined: I recommend getting shrimp that is peeled and deveined. It will save you time at home and keep this recipe quick and simple!
- Raw Shrimp: Make sure that the shrimp that you get for this recipe is raw and not frozen cooked shrimp. This will help with the baking of the recipe and keeping it all fresh!
- Flour: The recipe calls for all-purpose flour but any flour (oat flour, all purpose or gluten free) will all work!
- Breadcrumbs: Panko breadcrumbs are most recommended to get that extra crispiness but you can substiture for almond meal.
More Delicious Shrimp Recipes to Try

Side Dishes
Better than Takeout Shrimp Fried Rice

Dinner
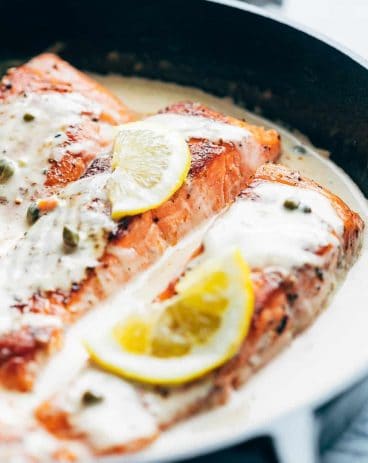
Creamy Tuscan Garlic Shrimp
Dinner
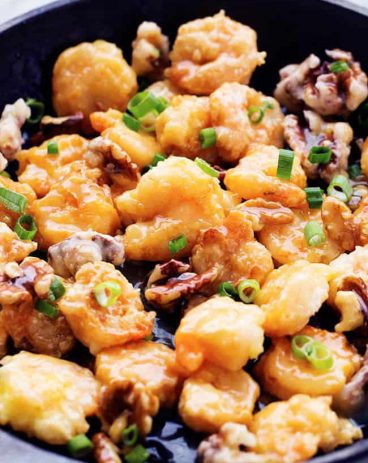
Honey Walnut Shrimp

Baked Coconut Shrimp
Ingredients
- 1 pound large shrimp about 25, peeled (tails left on), deveined
- 2 large eggs
- 1 cup flaked unsweetened coconut
- 1/2 cup panko breadcrumbs
- 1/2 cup all-purpose flour
- 1/2 teaspoon garlic powder
- 1/2 teaspoon paprika optional
- Salt and freshly ground black pepper
Instructions
-
Pre-heat oven to 425F Grease a cookie sheet with oil and set aside.
-
Beat eggs in a small bowl and set aside. Combine breadcrumbs and coconut in another bowl and set aside. Lastly, combine flour and spices in a 3rd bowl.
-
Dip shrimp in small batches in the flour mixture then the egg mixture (letting the excess drip off the shrimp and then coat in the coconut/breadcrumb mixture, pressing to adhere.
-
Place the shrimp on the baking sheet in a single layer. Lightly spray with nonstick spray or drizzle with oil. Bake until the shrimp are golden on the outside and opaque in the center, about 10 minutes.
Notes
Nutrition
from The Recipe Critic https://ift.tt/3jfh4AT
https://ift.tt/3flViKE