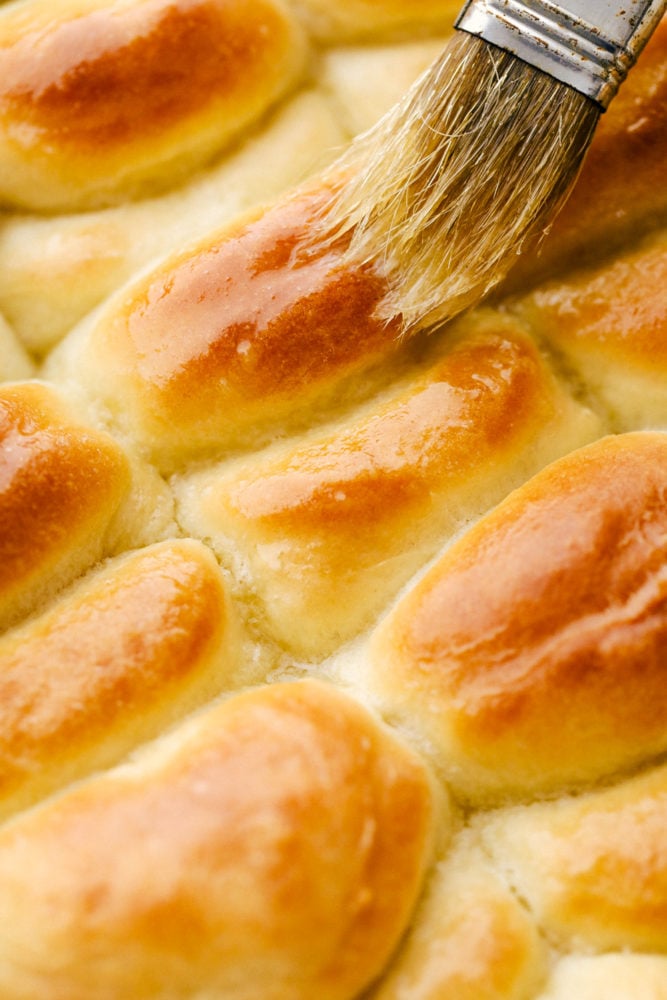
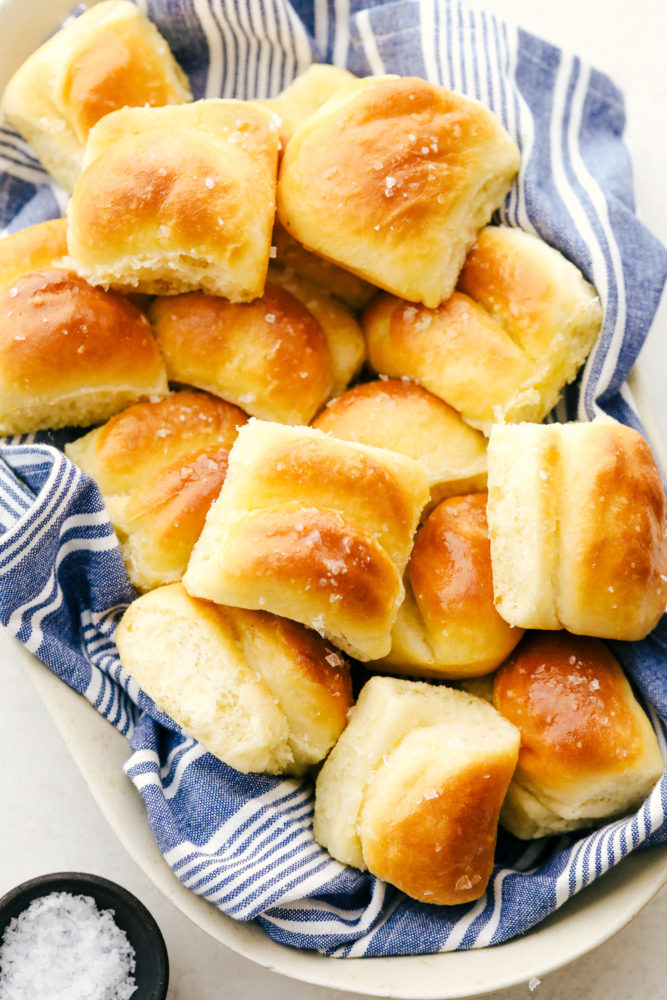
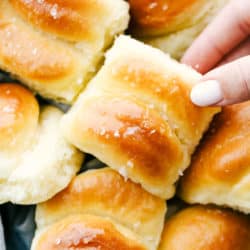
Parker House Rolls are soft, melt in your mouth rolls, that are buttered before and after baking for rich irresistible flavor. They are so good, it’ll be hard not to want to make them everyday.
These are so yummy you can eat them plain or for extra pizzazz, pair these tender rolls with home made Apple Butter, Strawberry Jam or this Easy Honey Butter! Anyway you serve and eat them, they’re delicious!

Amazing Parker House Rolls
Parker House Rolls are so decadent and heavenly, you can serve them at a nice dinner or for just a special treat during the week. They will be the talk of the table. They are super simple and easy to make too. It just takes a little time, but it’s really hard to mess these up. If you’re new to working with yeast, this is a great first recipe to try. They turn out beautifully no matter what!
The extra touch of butter both before and after you bake them make them so buttery and soft. These pillow-y rolls are a bread lovers dream come true. Optional is topping these exquisite rolls with flaky salt extra flare and taste. These will soon become a dinner favorite. Use them for holiday meals, special occasions, or when ever you just want a home baked divinely made roll.
Parker House Ingredients:
The milk, butter and egg in these rolls create an enriched dough which makes the rolls super soft.
- Milk: The more fat in the milk the richer the dough
- Warm Water: Make sure it’s between 95 and 110 degrees to activate but not kill the yeast
- Sugar: Slightly sweetens the dough but mostly feeds the yeast.
- Active Dry Yeast: There is a difference between Active and Instant and both can be used here. If you use Instant you don’t have to let the yeast proof.
- Butter: Add flavor and softness
- Egg: Extra large eggs are my go to for extra rich bread.
- Flour: Unbleached bread flour will yield a nice rise to your rolls.
- Salt: Essential is bringing flavor to the rolls.
How to Make the Dough:
Bread of any kind always takes a little bit of time, but these are so worth it!
- Warm: Microwave the milk until just warm, but do not scald it. Then add it to a stand mixer along with the warm water, sugar and yeast. Stir and let the yeast proof for 5-10 min. If you use Instant yeast you can skip the proofing step.
- Combine: Next add in the softened butter and egg. Using a dough hook, add in the flour and salt and mix on low until a dough starts to form. Increase the speed and add flour if needed until the dough pulls away clean from the bowl. It should be soft but not sticky.

Tips for Kneading the Dough:
- Knead: On a floured surface knead the dough until smooth-5-10 minutes. Place in a large greased bowl and cover with plastic wrap and let rise for 1-1/2 hours or till doubled.
- Punch: Once risen, punch the dough down and roll out to 1/2 inch thick. Cut circles with a biscuit cutter. Indent the middle of each circle with a wooden skewer or handle of a spoon, and brush with melted butter. Fold in half and place in a 9×13 inch greased pan. Cover again and let rise until doubled, about an hour.
- Bake: When ready, bake in a 350 degree oven for 15-20 minutes or till golden brown. Remove from the the oven and brush with additional butter and top with flaky salt if desired.


What are Parker House Rolls?
- Where did they Originate: Parker House Rolls were accidentally invented in the 1870’s by an angry baker. The story goes that the baker who worked at the Parker House Hotel in Boston was mad after an altercation with a hotel guest and threw an unfinished pan of rolls in the oven. The folded over appearance, created a buttery light as a feather texture like pocket on the inside and a golden buttery top on the outside. By the late 1870’s the recipe was appearing in cookbooks and has been a family favorite ever since.
- Shape: If you troll the internet you’ll discover Parker House Rolls in all sorts of shapes. The classic original however is the one I have here. Folding the circles in half will give you that original pocket for your butter or jam, but there is no wrong way to fold, roll or shape your roll. They will all taste amazing.
Make Ahead, Store and Freezing Rolls:
- Make Ahead: If you’d like to get a head start on these the day before or early in the morning, follow the recipe up to just after you shape them. Once you have shaped them and put them in a pan, put the pan in the fridge till your ready to bake. They will keep in the fridge up to overnight. When ready to bake bring the rolls out 30 min. prior to baking and then bake as directed.
- Freezing them Before Baking: You can easily freeze the dough as well before baking, think Rhodes Rolls. Shape the rolls on pan and freeze for at least 8-12 hours. You can then put them in a freezer safe bag and freeze for up to 3 months. When ready to use Thaw at room temperature for 3-5 hours till risen. Then bake as directed.
- Freezing already Risen: You can also let the rolls rise then freeze in a freezer safe bag or container for up to 3 months. Again let the rolls thaw at room temperature till soft about 2 hours and bake as directed.
- Storing Baked Rolls: Bake and cool rolls completely. Keep in an airtight container or bag for up to 3 days or freeze for up to 3 months. Thaw and warm before serving.
Serve Rolls with One of These Yummy Soups:
Rolls are a staple with soup and here are a few favorites to try:
- Slow Cooker Pasta E Fagioli Soup
- Minestrone Soup
- Slow Cooker Chicken Tortellini Soup
- Best Ever Beef and Cabbage Soup
- Beef and Barley Soup
Parker House Rolls
Ingredients
- 1 cup milk
- 1/4 cup warm water
- 2 Tablespoons sugar
- 1 0.25 ounce package active dry yeast
- 4 tablespoons butter softened
- 1 egg
- 2 1/2-3 cups flour
- 1 teaspoon salt
- 3 tablespoons butter melted
Instructions
-
Heat the milk in the microwave until it is warm but not scalding. Add it to the stand of a mixer with the warm water, sugar and yeast. Stir and let the yeast proof for 5-10 minutes.
-
Add in the softened butter and egg and combine using the dough hook. Add in the flour and salt and mix together on low until the dough starts to form. Increase the speed and add flour if needed until the dough pulls clean away from the bowl.
-
On a floured surface add the dough and knead until the dough is smooth. Place in a large bowl with 1 teaspoon olive oil. Cover and let rise for 1-1/2 hours until it has doubled.
-
Punch the dough and roll out to 1/2 inch thick on a floured surface. Cut circles with a biscuit cutter. Indent the middle of each dough round and brush with butter. Fold in half and place in a 9x13 inch greased pan. Cover and let rise for 1 hour until doubled.
-
Preheat the oven to 350 degrees and bake for 15-20 minutes or until golden brown. Remove and brush with additional butter and top with flaky salt if desired.
Nutrition

from The Recipe Critic https://ift.tt/2RVYy3j
https://ift.tt/2Eiq33L